
:max_bytes(150000):strip_icc():format(webp)/tiktok-messages-889fef4cdfac41babb84770288f32cf2.jpg)
"2024 Approved Taking Your Filmed Artistry on a Journey with iMovie & YouTube"
Taking Your Filmed Artistry on a Journey with iMovie & YouTube
How to Upload a Video from iMovie to YouTube?

Liza Brown
Aug 18, 2022• Proven solutions
“Is iMovie good for YouTube?”
The iMovie is not only good for YouTube but various other social media platforms. The thing is, you have to compromise with the quality offered by Apple’s video editor iMovie. Well, iMovie is perfect for getting started for beginners. But, the professionals and ones who want a bit high features than basic ones should look elsewhere. Thus, we always recommend alternatives to a particular software for our audience. In this article, there is a mention of Wondershare Filmora to overcome the drawbacks of iMovie.
Without further ado, let’s begin with how to upload a video from iMovie to YouTube. We want to lead with the best iMovie export settings, specific troubleshooting issues, and our alternative intro section to overcome iMovie’s limitations.
Part 1: How to Upload a Video from iMovie to YouTube?
iMovie is ideal for making YouTube videos if you are too basic and are not looking for advanced features. Remember that professionalism pays in these platforms and helps you stand better among others. If you’re still interested in making introductory videos, here is a step-by-step guide on uploading a video to YouTube from iMovie on Mac first and leading with iPhone.
Step-by-Step Tutorial on how to upload a video from iMovie to YouTube on Mac
Step 1: Create a Project
On the first step, go to iMovie on Mac and click the Create New tab below.
Step 2: Import Media
Click the Import Media button and browse the files on your computer, as shown below.
Step 3: Edit Clips
It’s time to edit video footage. Drag your video to the timeline, as shown below.
Then, you can trim and drag the edges of video clips to allow editing.
Step 4: Add Titles
You can add titles by clicking the Title tab and further drag the Title’s template into the timeline.
Step 5: Export the Video
Click the Export button as follows after editing is over.
Select YouTube to upload your video over the platform directly.
Step 6: Save
After selecting the desired platform, click the Next tab to proceed with saving the file.
At last, save your video as shown below.
Step-by-Step Tutorial on how to upload iMovie to YouTube from iPhone
Step 1: Share the iMovie Project
Go to iMovie on your iPhone. Open the iMovie project on your iPhone and tap the Share button to select YouTube. Enter the information of Title, Description, Size, Tags, Privacy, and Location (optional).
Step 2: Upload iMovie Files
For ease of use, you can upload saved videos in Photo Library on your iPhone. Then, you can upload iMovie videos via the YouTube iOS app. Sign In to YouTube and click the Camera icon at the top of the Home page. Select your iPhone Photo Library file and set the video Title, Description, Size, Tags, and Privacy. Then, hit the Upload button to confirm.
Part 2: The Best iMovie Export Settings for YouTube Videos
As we all know that iMovie consists of a bit long procedure to export projects. Here are some tips on the best iMovie export settings to avoid an unnecessary headache.
- Set small resolution: Small resolution plays a more significant role, especially while uploading. Thus, you can set the smallest resolution in the Email tab of the Export button.
2. Change Export settings in the File tab: There is a File tab under the Export button. Click it and find various settings that you need to change to get the best export settings for YouTube 2021. Make the Title of the video as small as possible. Set the resolution at 1080P than 4K.
However, it isn’t going to upgrade the resolution if your video is already in the 1080P definition. Now, the last setting that will crazily offer you the best quality and lots of space-saving. You have to select Best (ProRes) in quality settings for this purpose. These settings also take less time to upload to YouTube.
3. Compress is not for speed: Various options you see in the Compresstab are not for speed. They are for how you save the video on a desktop. Thus, always choose the Better Quality tab than Faster.
- Do not export directly to YouTube: iMovie is pretty basic and doesn’t offer great settings to upload your video instantly. You may have to make changes to the uploaded video even if you do this as per our step-by-step guide mentioned above.
Part 3: How to fix the “Failed to Upload to YouTube” Error on iMovie?
The “iMovie to YouTube failed” problem occurs when you directly upload a YouTube video from iMovie. The issue will result if you upload from any third-party uploader. That is why the direct upload doesn’t work, especially in iMovie. You can opt to share your video to the desktop first and then drag it to upload to the YouTube platform.
Part 4: Upload Videos to YouTube with the Best Alternative to iMovie - Wondershare Filmora
“What can I use instead of iMovie to overcome its limitations?”
When you see that iMovie is not uploading to YouTube or iMovie upload to YouTube got stuck, go for a better alternative. In this section, we’d like to recommend Wondershare Filmora that offers the best export settings compared to iMovie. It is the go-to solution if you can’t upload video from iMovie to YouTube directly. Filmora further provides intuitive editing tools that professionally make your YouTube video projects.
Export Key Aspects of Wondershare Filmora in comparison to iMovie:
- It offers a long list of export resolutions to choose from.
- You get separate video and audio settings such as Encoder, Channel, Frame Rate, Bit Rate, Resolution, etc.
- It is further compatible with export to various devices including the iPhone, Samsung, iPod, Apple TV, iPad, Google Pixel, PSP, Smart TV, etc.
Step-by-Step Guide on how to upload a video from iMovie to YouTube via Wondershare Filmora
Step 1: Click the Export button and select resolution
After your project in Wondershare Filmora is over, click the Export tab and select video resolution from the Local tab, as shown below.
It has a list of formats. You can also edit the Name and saving location here.
Step 2: Select Quality
Select the Settings button and choose from three quality levels of Best, Better, and Good. You can also adjust video and audio parameters, including the Encoder, Frame Rate, Resolution, Bit Rate, etc.
Step 3: Select platform
Select the YouTube tab, Sign In to your YouTube account, and hit the Export button after modifying the Title and Quality if needed. Also, make sure to check the Enable GPU accelerated video encoding tab.
Select Wondershare Filmora as the ultimate solution even if iMovie upload to YouTube not showing up.
Conclusion
Hopefully, we’ve informed you of the relevant facts on how to upload a video from iMovie to YouTube. We have also examined the number of troubleshooting issues involved in the iMovie video editor. Well, you will get to face similar kinds of export difficulties in the iMovie editor. Also, the entire procedure to end the exporting task is a bit long in iMovie compared to any other video editing software. Thus, it’s crucial to check out what other alternatives the technological world has today. We can’t state to you a better beginner-friendly yet advanced editing option than Wondershare Filmora that rightly outtakes the iMovie video editor in all aspects.
Liza Brown
Liza Brown is a writer and a lover of all things video.
Follow @Liza Brown
Liza Brown
Aug 18, 2022• Proven solutions
“Is iMovie good for YouTube?”
The iMovie is not only good for YouTube but various other social media platforms. The thing is, you have to compromise with the quality offered by Apple’s video editor iMovie. Well, iMovie is perfect for getting started for beginners. But, the professionals and ones who want a bit high features than basic ones should look elsewhere. Thus, we always recommend alternatives to a particular software for our audience. In this article, there is a mention of Wondershare Filmora to overcome the drawbacks of iMovie.
Without further ado, let’s begin with how to upload a video from iMovie to YouTube. We want to lead with the best iMovie export settings, specific troubleshooting issues, and our alternative intro section to overcome iMovie’s limitations.
Part 1: How to Upload a Video from iMovie to YouTube?
iMovie is ideal for making YouTube videos if you are too basic and are not looking for advanced features. Remember that professionalism pays in these platforms and helps you stand better among others. If you’re still interested in making introductory videos, here is a step-by-step guide on uploading a video to YouTube from iMovie on Mac first and leading with iPhone.
Step-by-Step Tutorial on how to upload a video from iMovie to YouTube on Mac
Step 1: Create a Project
On the first step, go to iMovie on Mac and click the Create New tab below.
Step 2: Import Media
Click the Import Media button and browse the files on your computer, as shown below.
Step 3: Edit Clips
It’s time to edit video footage. Drag your video to the timeline, as shown below.
Then, you can trim and drag the edges of video clips to allow editing.
Step 4: Add Titles
You can add titles by clicking the Title tab and further drag the Title’s template into the timeline.
Step 5: Export the Video
Click the Export button as follows after editing is over.
Select YouTube to upload your video over the platform directly.
Step 6: Save
After selecting the desired platform, click the Next tab to proceed with saving the file.
At last, save your video as shown below.
Step-by-Step Tutorial on how to upload iMovie to YouTube from iPhone
Step 1: Share the iMovie Project
Go to iMovie on your iPhone. Open the iMovie project on your iPhone and tap the Share button to select YouTube. Enter the information of Title, Description, Size, Tags, Privacy, and Location (optional).
Step 2: Upload iMovie Files
For ease of use, you can upload saved videos in Photo Library on your iPhone. Then, you can upload iMovie videos via the YouTube iOS app. Sign In to YouTube and click the Camera icon at the top of the Home page. Select your iPhone Photo Library file and set the video Title, Description, Size, Tags, and Privacy. Then, hit the Upload button to confirm.
Part 2: The Best iMovie Export Settings for YouTube Videos
As we all know that iMovie consists of a bit long procedure to export projects. Here are some tips on the best iMovie export settings to avoid an unnecessary headache.
- Set small resolution: Small resolution plays a more significant role, especially while uploading. Thus, you can set the smallest resolution in the Email tab of the Export button.
2. Change Export settings in the File tab: There is a File tab under the Export button. Click it and find various settings that you need to change to get the best export settings for YouTube 2021. Make the Title of the video as small as possible. Set the resolution at 1080P than 4K.
However, it isn’t going to upgrade the resolution if your video is already in the 1080P definition. Now, the last setting that will crazily offer you the best quality and lots of space-saving. You have to select Best (ProRes) in quality settings for this purpose. These settings also take less time to upload to YouTube.
3. Compress is not for speed: Various options you see in the Compresstab are not for speed. They are for how you save the video on a desktop. Thus, always choose the Better Quality tab than Faster.
- Do not export directly to YouTube: iMovie is pretty basic and doesn’t offer great settings to upload your video instantly. You may have to make changes to the uploaded video even if you do this as per our step-by-step guide mentioned above.
Part 3: How to fix the “Failed to Upload to YouTube” Error on iMovie?
The “iMovie to YouTube failed” problem occurs when you directly upload a YouTube video from iMovie. The issue will result if you upload from any third-party uploader. That is why the direct upload doesn’t work, especially in iMovie. You can opt to share your video to the desktop first and then drag it to upload to the YouTube platform.
Part 4: Upload Videos to YouTube with the Best Alternative to iMovie - Wondershare Filmora
“What can I use instead of iMovie to overcome its limitations?”
When you see that iMovie is not uploading to YouTube or iMovie upload to YouTube got stuck, go for a better alternative. In this section, we’d like to recommend Wondershare Filmora that offers the best export settings compared to iMovie. It is the go-to solution if you can’t upload video from iMovie to YouTube directly. Filmora further provides intuitive editing tools that professionally make your YouTube video projects.
Export Key Aspects of Wondershare Filmora in comparison to iMovie:
- It offers a long list of export resolutions to choose from.
- You get separate video and audio settings such as Encoder, Channel, Frame Rate, Bit Rate, Resolution, etc.
- It is further compatible with export to various devices including the iPhone, Samsung, iPod, Apple TV, iPad, Google Pixel, PSP, Smart TV, etc.
Step-by-Step Guide on how to upload a video from iMovie to YouTube via Wondershare Filmora
Step 1: Click the Export button and select resolution
After your project in Wondershare Filmora is over, click the Export tab and select video resolution from the Local tab, as shown below.
It has a list of formats. You can also edit the Name and saving location here.
Step 2: Select Quality
Select the Settings button and choose from three quality levels of Best, Better, and Good. You can also adjust video and audio parameters, including the Encoder, Frame Rate, Resolution, Bit Rate, etc.
Step 3: Select platform
Select the YouTube tab, Sign In to your YouTube account, and hit the Export button after modifying the Title and Quality if needed. Also, make sure to check the Enable GPU accelerated video encoding tab.
Select Wondershare Filmora as the ultimate solution even if iMovie upload to YouTube not showing up.
Conclusion
Hopefully, we’ve informed you of the relevant facts on how to upload a video from iMovie to YouTube. We have also examined the number of troubleshooting issues involved in the iMovie video editor. Well, you will get to face similar kinds of export difficulties in the iMovie editor. Also, the entire procedure to end the exporting task is a bit long in iMovie compared to any other video editing software. Thus, it’s crucial to check out what other alternatives the technological world has today. We can’t state to you a better beginner-friendly yet advanced editing option than Wondershare Filmora that rightly outtakes the iMovie video editor in all aspects.
Liza Brown
Liza Brown is a writer and a lover of all things video.
Follow @Liza Brown
Haul Video Crafting: Stand Out in a Saturated Market
Versatile Video Editor - Wondershare Filmora
An easy yet powerful editor
Numerous effects to choose from
Detailed tutorials provided by the official channel
You’re probably familiar with haul videos if you’re highly familiar with YouTube in recent years. This type of content can offer immense benefits to both influencers and small retail businesses.
Though they may not be quite as existent as they once were, it’s still essential to know the potential effect of these try-on-haul videos. They are valuable to spread the word about your brand and attract helpful content for your target audience. Here’s a quick guide to learn the ins and outs of haul videos.
In this article
02 Why is Haul Videos Popular?
03 Get Inspired from Fashion YouTubers to Find Out the Point of Try on Hauls
04 How to Make a Catchy Haul Video?
Part 1: What is a Haul Video?
Generally, a haul video is a recording of someone showcasing a collection of purchases. They may go into depth about what each product is, their shopping experience, and their initial impressions as a whole. A haul generally consists of products from a single retailer, a specific collection of shops, or at least a particular category. The products can be confined to one niche or brand, or type.
Such haul videos initially gained importance or hype around 2006/2007 through the community of beauty vloggers on YouTube as YouTube try-on-haul videos. And since the market for them isn’t that saturated, it could be an exciting time for businesses to dive in.
Haul videos generally contain products that the influencer has selected to define why they liked each item promptly. In certain sections or niches like makeup or clothing haul videos, the person may even try to offer the viewer an honest whole first impression.
Part 2: Why is Haul Videos Popular?
Having YouTube as a source of everyone’s daily dose of entertainment, we can’t help but wonder why haul videos tend to be so famous. Most YouTubers create at least one haul video regardless of their niche. They could be grocery hauls; underwear hauls, weird candy hauls, face mask hauls, candle hauls, and more. And the list goes on and on.
They are popular because they can help you connect to potential consumers via influencers as a small retail business. Generally, viewers watch and subscribe to YouTube videos of influencers or creators they trust or share similar preferences in products.
So when that influencer shares a collection of their favorite products, the viewers might decide to purchase one as well.
On the influencer side, haul videos can offer a way to share valuable content with your audience. If you have a YouTube channel, Instagram account, Facebook page, or blog, providing insights on the products you love can help your audience shape their own purchasing decisions.
It also creates a natural way to infuse some brand-related content into your content creation strategy. This can lead to profitable connections for your business in the future.
And since we’re very much intrigued by the glorifying fast fashion, excessive materialism, and hoarding, I’m getting my hands dirty with information. So, here’s what I’ve gathered:
Part 3: Get Inspired from Fashion YouTubers to Find Out the Point of Try on Hauls
Admit it; we gather most of our fashion inspiration from celebrities or YouTubers who know what’s cooking in the fashion scenes. They’ve become trendsetters, and thus we follow in their footsteps as all of us want to look great, which is why we’ve culled up a shortlist of YouTubers who you can follow for your seasonal or daily fashion or beauty inspiration! So, read on and put your glam on!
1. Tanya Burr

Tanya is a UK-based influencer who continuously posts all you need to know about fashion and makeup. Her sense of style, comfy outfits, and easy-going personality will surely attract you and give you a good idea of some unique international brands as well.
2. Heli Ved
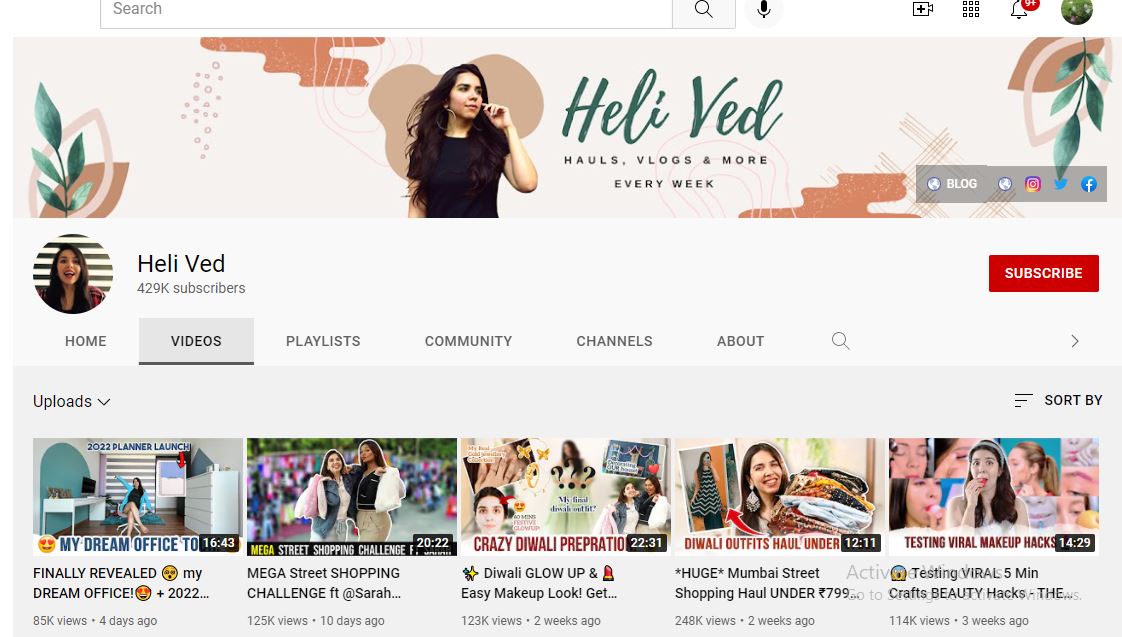
With her tons of try-on-haul videos and vlogs, she will entertain you like no other. A lively diva who preaches fashion, style, shopping, and much more.
3. Debasree Banerjee
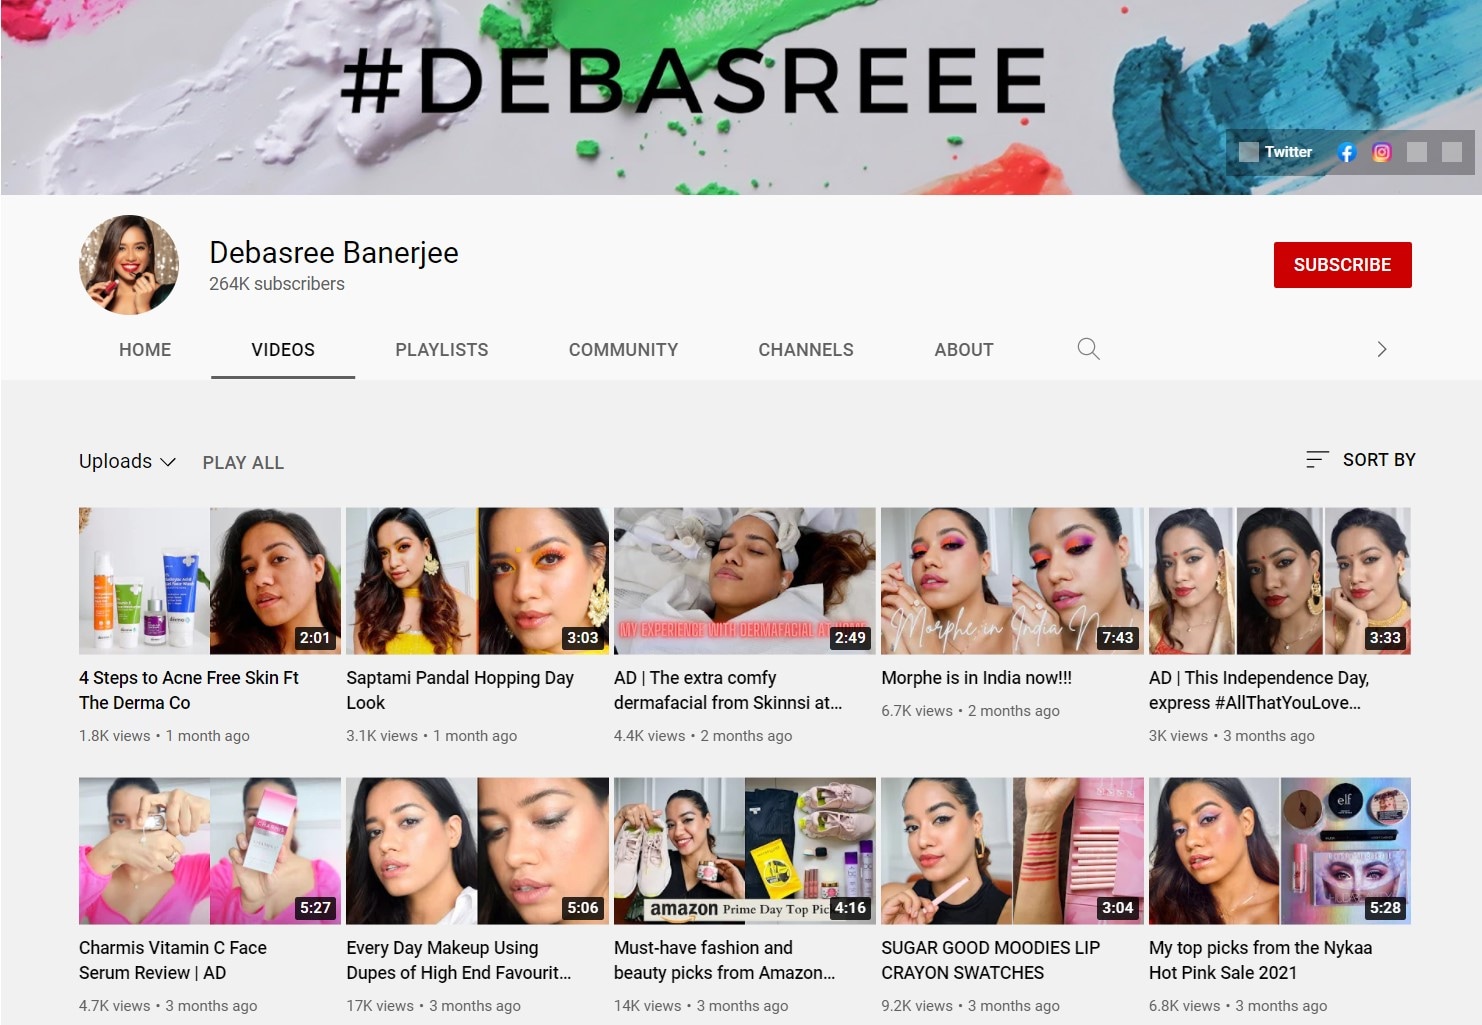
This YouTuber can be your long-distance shopping and makeup partner by showing you a diverse range of products that’ll suit you best, from high-end styles to skincare basics.
4. Kathleen Lights
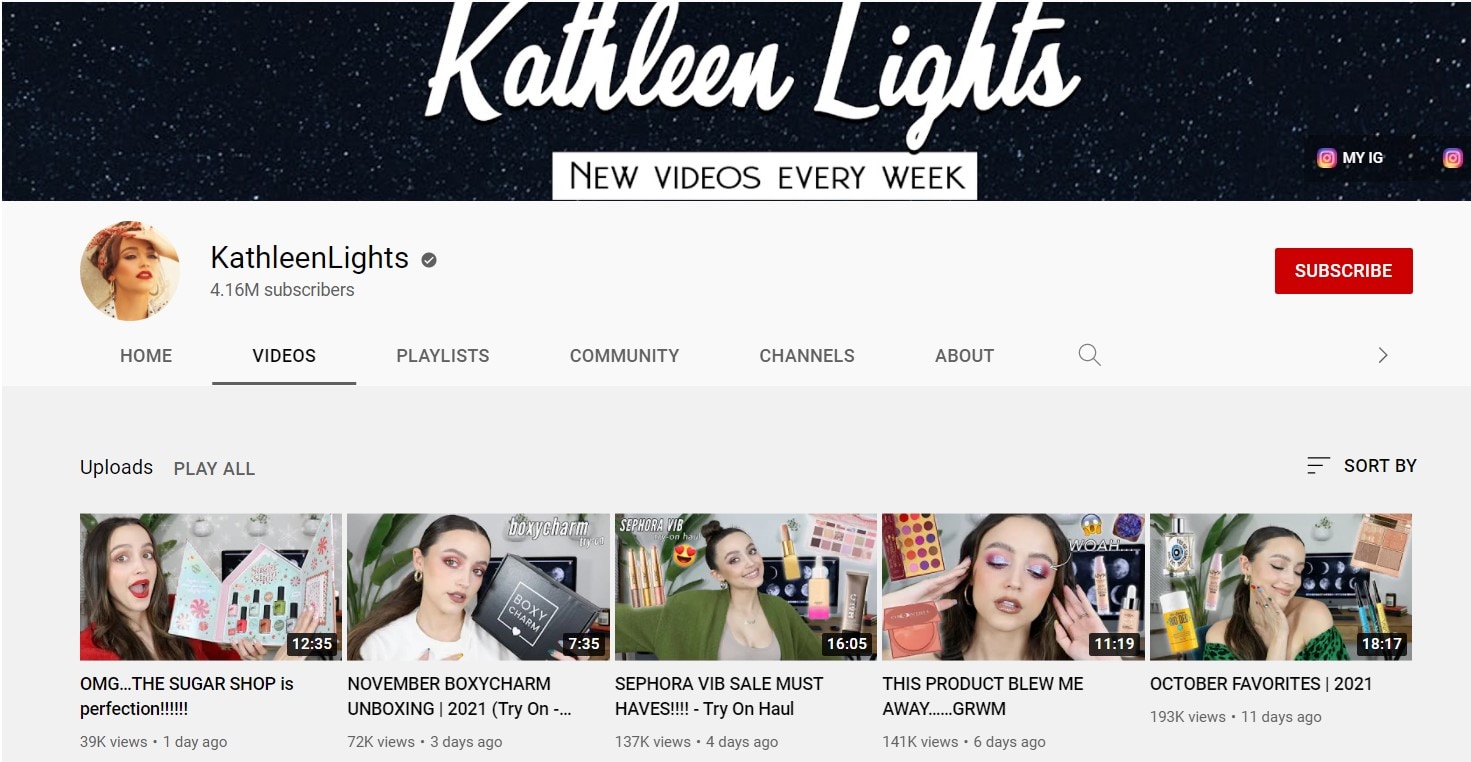
Kathleen is a 22-year-old beauty Youtuber who discusses everything from comparisons to product reviews to collection videos and entire product hauls.
5. Alexandra Garza
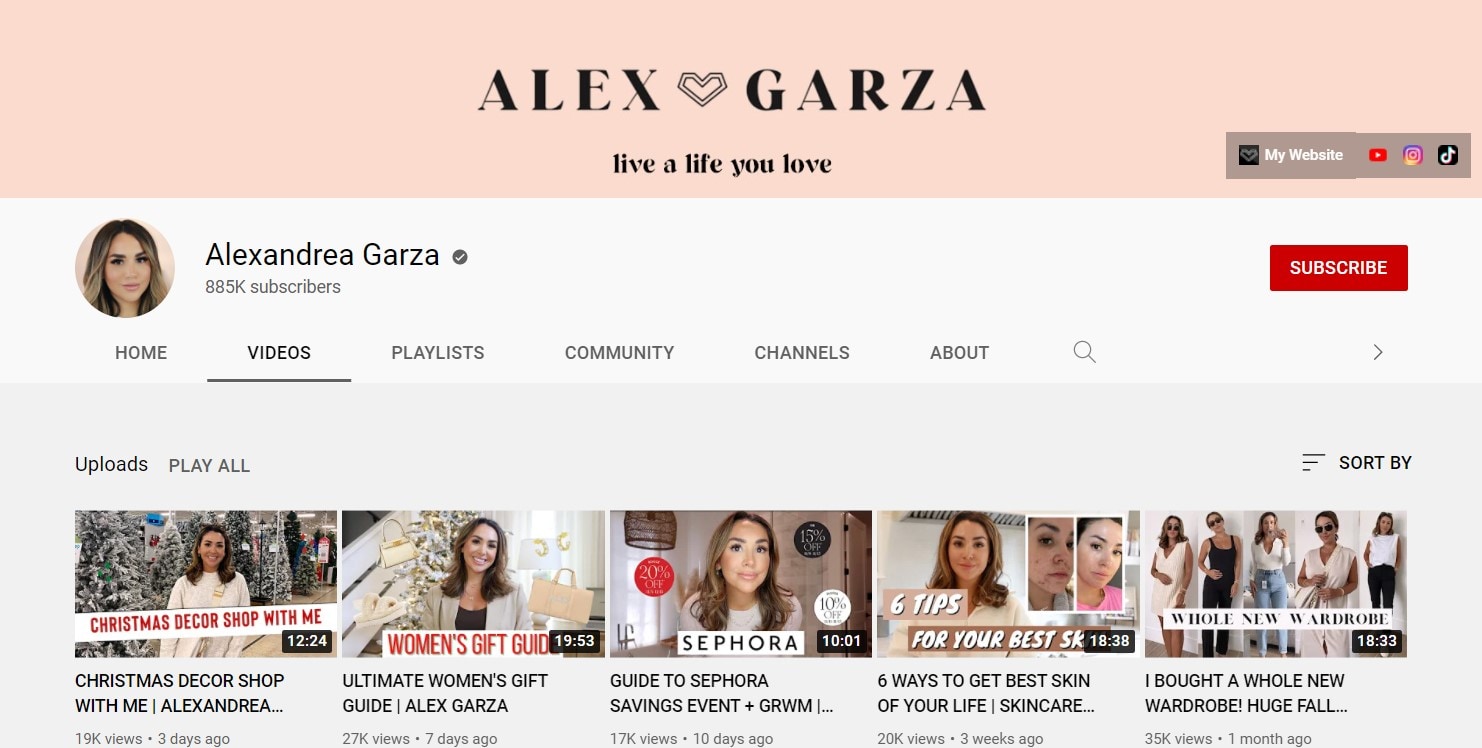
Alex Garza is a licensed cosmetologist, and she also works as a makeup artist for Benefit Cosmetics. Her channel features a cornucopia of reviews, haul videos, tutorials, and even wedding advice.
Part 4: How to Make a Catchy Haul Video?
Haul videos are easy and fun to shoot. It’s a great way of showcasing your followers and subscribers your personal style, how you shop and what your favorite stores are. Keeping in mind the mantras used by famous haul video creators, we’ve gathered a step-by-step guide below using which you can instantly create a catchy try-on haul video.
1. Create a good setup
Have ideal filming set up or area. Make sure that the lighting is accurate – not enough light will make the video dark. It is often best to film such haul videos during the day, using natural sunlight. However, you can also use desk lamps to help enhance the lighting situation.
2. Do a test video first with your shooting equipment
Put your camera on a flat surface if available. You can also use your computer’s webcam to shoot your haul video, once it is of excellent quality. You can sit on a chair or desk while facing the camera or even on the floor.
You can even take someone else to film the video for you! Try filming some test videos to check if the camera position is fine and the microphone is working. You’re ready to film once you’re satisfied.
3. Speak clearly and perform better
Speak in a clear voice, and gaze directly at the camera. You need to crack a few jokes or smile often throughout the video – you don’t want to come across as a serious or boring person to your viewers! Make sure that you’re comfortable presenting in front of a camera.
Begin by greeting the viewers (a simple “Hello, everyone!”), then you can offer a prompt description of your shopping trip. You can tell them the stores you visited or in-store events that occurred while there, like giveaways.
Act as if you’re directly conversing with one of your friends – it’s one of the comfy tricks you can follow. You can write some keywords if you think it would help and pin it somewhere where you can look through it quickly, such as the camera tripod or on the wall surface behind the camera or computer.
4. Clearly show off the products you bought
Show off the products you got! Hold the camera and show them to the audience in depth. You can also describe why you purchased each item, the price, plus any special discounts. Moreover, it is a great idea to keep all of your receipts and bills.
5. Don’t forget to use an ideal video editor
Use a video editing program to revamp your raw footage and make it look more professional. In excitement, you’d want to upload it as quickly as you can, but it’s better to invest a little time editing it so that you can publish a video with superb quality.
If there are any sections in your video that you don’t look for in the finished product, you can remove them. Plus, you can add special effects such as floating text and captions. All of this can be instantly done with the beginner-friendly and popular video editing program by Wondershare Filmora.
Within the new era of Filmora! Wondershare Filmora X is here with features like keyframing, motion tracking, audio ducking, and more. The audio ducking element is reliable for haul videos, notably as it lowers the background volume when a voiceover appears. And, this can be implemented in different ways while editing the video.
Wondershare Filmora
Get started easily with Filmora’s powerful performance, intuitive interface, and countless effects!
Try It Free Try It Free Try It Free Learn More >

6. Share among social network
If you have a social network page or a blog that you would like your YouTube viewers to consider worth checking, you can create short-form content either at the beginning or end of the video, with the short message and a URL. They’ll indeed check out your blog if your subscribers enjoy your content! And, it’s a friendly manner to build an audience and get traffic to your other pages!
Conclusion
Our final verdict is that haul videos are just entertaining to make and fun to watch with all the discussion above! Such videos can manipulate consumer trends and shape the meaning-making of individuals. They allow you to explore fun even just by living vicariously and shopping all the way long! Also, it’s equally important to consider further beautifying video through the most accessible yet professional editing programs like the Wondershare Filmora. What’s your favorite haul video to watch? Comment them down below.
You’re probably familiar with haul videos if you’re highly familiar with YouTube in recent years. This type of content can offer immense benefits to both influencers and small retail businesses.
Though they may not be quite as existent as they once were, it’s still essential to know the potential effect of these try-on-haul videos. They are valuable to spread the word about your brand and attract helpful content for your target audience. Here’s a quick guide to learn the ins and outs of haul videos.
In this article
02 Why is Haul Videos Popular?
03 Get Inspired from Fashion YouTubers to Find Out the Point of Try on Hauls
04 How to Make a Catchy Haul Video?
Part 1: What is a Haul Video?
Generally, a haul video is a recording of someone showcasing a collection of purchases. They may go into depth about what each product is, their shopping experience, and their initial impressions as a whole. A haul generally consists of products from a single retailer, a specific collection of shops, or at least a particular category. The products can be confined to one niche or brand, or type.
Such haul videos initially gained importance or hype around 2006/2007 through the community of beauty vloggers on YouTube as YouTube try-on-haul videos. And since the market for them isn’t that saturated, it could be an exciting time for businesses to dive in.
Haul videos generally contain products that the influencer has selected to define why they liked each item promptly. In certain sections or niches like makeup or clothing haul videos, the person may even try to offer the viewer an honest whole first impression.
Part 2: Why is Haul Videos Popular?
Having YouTube as a source of everyone’s daily dose of entertainment, we can’t help but wonder why haul videos tend to be so famous. Most YouTubers create at least one haul video regardless of their niche. They could be grocery hauls; underwear hauls, weird candy hauls, face mask hauls, candle hauls, and more. And the list goes on and on.
They are popular because they can help you connect to potential consumers via influencers as a small retail business. Generally, viewers watch and subscribe to YouTube videos of influencers or creators they trust or share similar preferences in products.
So when that influencer shares a collection of their favorite products, the viewers might decide to purchase one as well.
On the influencer side, haul videos can offer a way to share valuable content with your audience. If you have a YouTube channel, Instagram account, Facebook page, or blog, providing insights on the products you love can help your audience shape their own purchasing decisions.
It also creates a natural way to infuse some brand-related content into your content creation strategy. This can lead to profitable connections for your business in the future.
And since we’re very much intrigued by the glorifying fast fashion, excessive materialism, and hoarding, I’m getting my hands dirty with information. So, here’s what I’ve gathered:
Part 3: Get Inspired from Fashion YouTubers to Find Out the Point of Try on Hauls
Admit it; we gather most of our fashion inspiration from celebrities or YouTubers who know what’s cooking in the fashion scenes. They’ve become trendsetters, and thus we follow in their footsteps as all of us want to look great, which is why we’ve culled up a shortlist of YouTubers who you can follow for your seasonal or daily fashion or beauty inspiration! So, read on and put your glam on!
1. Tanya Burr
Tanya is a UK-based influencer who continuously posts all you need to know about fashion and makeup. Her sense of style, comfy outfits, and easy-going personality will surely attract you and give you a good idea of some unique international brands as well.
2. Heli Ved
With her tons of try-on-haul videos and vlogs, she will entertain you like no other. A lively diva who preaches fashion, style, shopping, and much more.
3. Debasree Banerjee
This YouTuber can be your long-distance shopping and makeup partner by showing you a diverse range of products that’ll suit you best, from high-end styles to skincare basics.
4. Kathleen Lights
Kathleen is a 22-year-old beauty Youtuber who discusses everything from comparisons to product reviews to collection videos and entire product hauls.
5. Alexandra Garza
Alex Garza is a licensed cosmetologist, and she also works as a makeup artist for Benefit Cosmetics. Her channel features a cornucopia of reviews, haul videos, tutorials, and even wedding advice.
Part 4: How to Make a Catchy Haul Video?
Haul videos are easy and fun to shoot. It’s a great way of showcasing your followers and subscribers your personal style, how you shop and what your favorite stores are. Keeping in mind the mantras used by famous haul video creators, we’ve gathered a step-by-step guide below using which you can instantly create a catchy try-on haul video.
1. Create a good setup
Have ideal filming set up or area. Make sure that the lighting is accurate – not enough light will make the video dark. It is often best to film such haul videos during the day, using natural sunlight. However, you can also use desk lamps to help enhance the lighting situation.
2. Do a test video first with your shooting equipment
Put your camera on a flat surface if available. You can also use your computer’s webcam to shoot your haul video, once it is of excellent quality. You can sit on a chair or desk while facing the camera or even on the floor.
You can even take someone else to film the video for you! Try filming some test videos to check if the camera position is fine and the microphone is working. You’re ready to film once you’re satisfied.
3. Speak clearly and perform better
Speak in a clear voice, and gaze directly at the camera. You need to crack a few jokes or smile often throughout the video – you don’t want to come across as a serious or boring person to your viewers! Make sure that you’re comfortable presenting in front of a camera.
Begin by greeting the viewers (a simple “Hello, everyone!”), then you can offer a prompt description of your shopping trip. You can tell them the stores you visited or in-store events that occurred while there, like giveaways.
Act as if you’re directly conversing with one of your friends – it’s one of the comfy tricks you can follow. You can write some keywords if you think it would help and pin it somewhere where you can look through it quickly, such as the camera tripod or on the wall surface behind the camera or computer.
4. Clearly show off the products you bought
Show off the products you got! Hold the camera and show them to the audience in depth. You can also describe why you purchased each item, the price, plus any special discounts. Moreover, it is a great idea to keep all of your receipts and bills.
5. Don’t forget to use an ideal video editor
Use a video editing program to revamp your raw footage and make it look more professional. In excitement, you’d want to upload it as quickly as you can, but it’s better to invest a little time editing it so that you can publish a video with superb quality.
If there are any sections in your video that you don’t look for in the finished product, you can remove them. Plus, you can add special effects such as floating text and captions. All of this can be instantly done with the beginner-friendly and popular video editing program by Wondershare Filmora.
Within the new era of Filmora! Wondershare Filmora X is here with features like keyframing, motion tracking, audio ducking, and more. The audio ducking element is reliable for haul videos, notably as it lowers the background volume when a voiceover appears. And, this can be implemented in different ways while editing the video.
Wondershare Filmora
Get started easily with Filmora’s powerful performance, intuitive interface, and countless effects!
Try It Free Try It Free Try It Free Learn More >
6. Share among social network
If you have a social network page or a blog that you would like your YouTube viewers to consider worth checking, you can create short-form content either at the beginning or end of the video, with the short message and a URL. They’ll indeed check out your blog if your subscribers enjoy your content! And, it’s a friendly manner to build an audience and get traffic to your other pages!
Conclusion
Our final verdict is that haul videos are just entertaining to make and fun to watch with all the discussion above! Such videos can manipulate consumer trends and shape the meaning-making of individuals. They allow you to explore fun even just by living vicariously and shopping all the way long! Also, it’s equally important to consider further beautifying video through the most accessible yet professional editing programs like the Wondershare Filmora. What’s your favorite haul video to watch? Comment them down below.
- Title: "2024 Approved Taking Your Filmed Artistry on a Journey with iMovie & YouTube"
- Author: Joseph
- Created at : 2024-05-31 13:49:10
- Updated at : 2024-06-01 13:49:10
- Link: https://youtube-stream.techidaily.com/2024-approved-taking-your-filmed-artistry-on-a-journey-with-imovie-and-youtube/
- License: This work is licensed under CC BY-NC-SA 4.0.
