
:max_bytes(150000):strip_icc()/Tim-Cook-Apple-Event-d66973a623fa430baa705c97ec37efc2.jpg)
"2024 Approved Reviving Old YouTube Videos Steps for Online Reclamation"
Reviving Old YouTube Videos: Steps for Online Reclamation
How to Watch Deleted YouTube Videos Online in 2 Ways | Ultimate Guide

Richard Bennett
Mar 27, 2024• Proven solutions


YouTube features a wide variety of corporate and user-generated content ranging from music to DIY videos. Along with all this massive inflow, there are scenarios where the video content that you like or wanted to watch gets deleted for any reason. Either the uploading channel deleted the video, or YouTube sometimes deletes videos for violating any of the platform’s rules – showing the dismal message “We’re sorry, this video is no longer available”. You’ll be thinking it is probably impossible to access deleted YouTube videos that you wanted to watch so badly. Though it may be true to some extent, in reality, nothing gets deleted from the internet. To help you watch deleted YouTube videos, we’ll dive into the two most handy methods down below. So, let get started.
You might be interested in How to Make a Playlist of Uploaded Videos and Others’ Video on YouTube>>>
- Part 1: Watch Deleted YouTube Videos with a URL
- Part 2: Watch Deleted YouTube Videos without a URL
- Part 3: Bonus Tip—Make Your Own YouTube Video with Wondershare FilmoraX
Part 1: Watch Deleted YouTube Videos with a URL
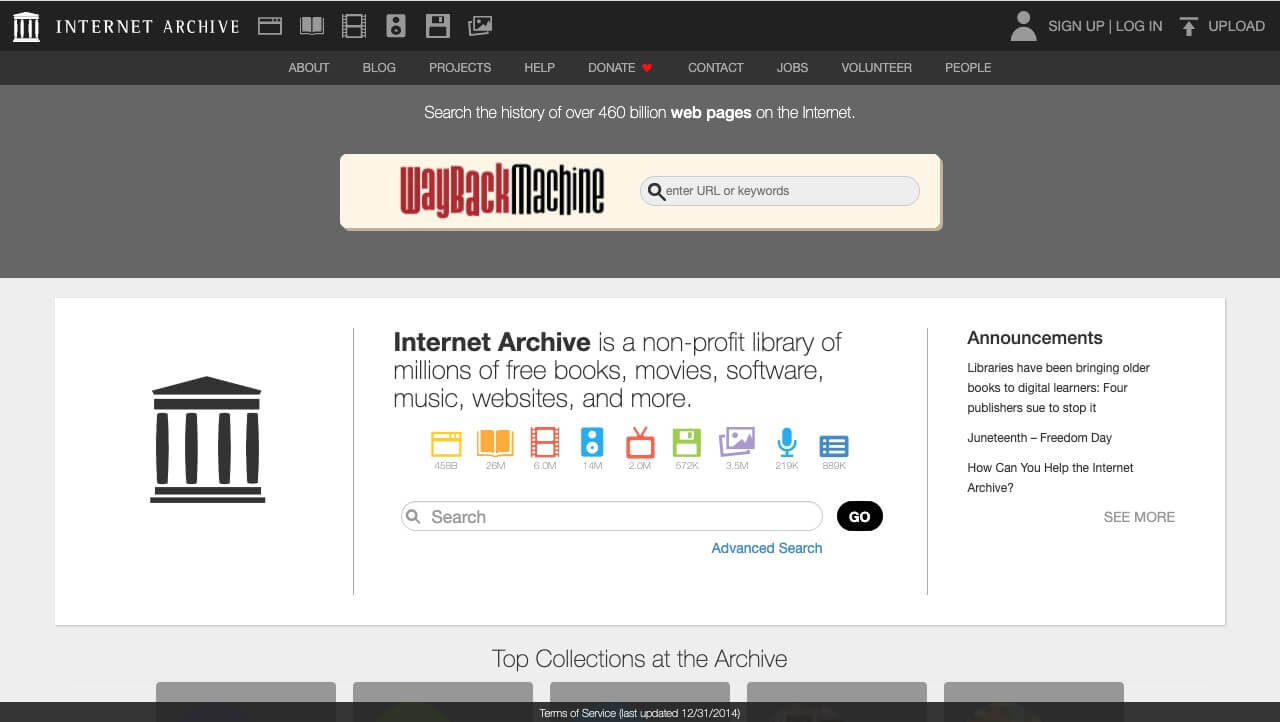
Internet Archive(known as the Wayback Machine) is a website archival system that has been collecting and cataloging websites since 1996. This means the system has effectively saved the site’s current layout and data. This enormous world archive of the Web’s past has amassed over 100 terabytes of storage with around 10 billion web pages.
On the archive.org website, you can find many of your favorite web site’s “snapshot” at a time in the past. For our case, we need to find and watch deleted YouTube videos, so for that, all we need is the link of the video, and we can most probably find it on archive.org. The steps for finding and restoring deleted YouTube videos are simple and as follows.
1. First of all, find the URL in your YouTube email, channel account if you’re searching for your uploaded video. You can find the link in browser history, in YouTube history, or you may have shared the link on social media.
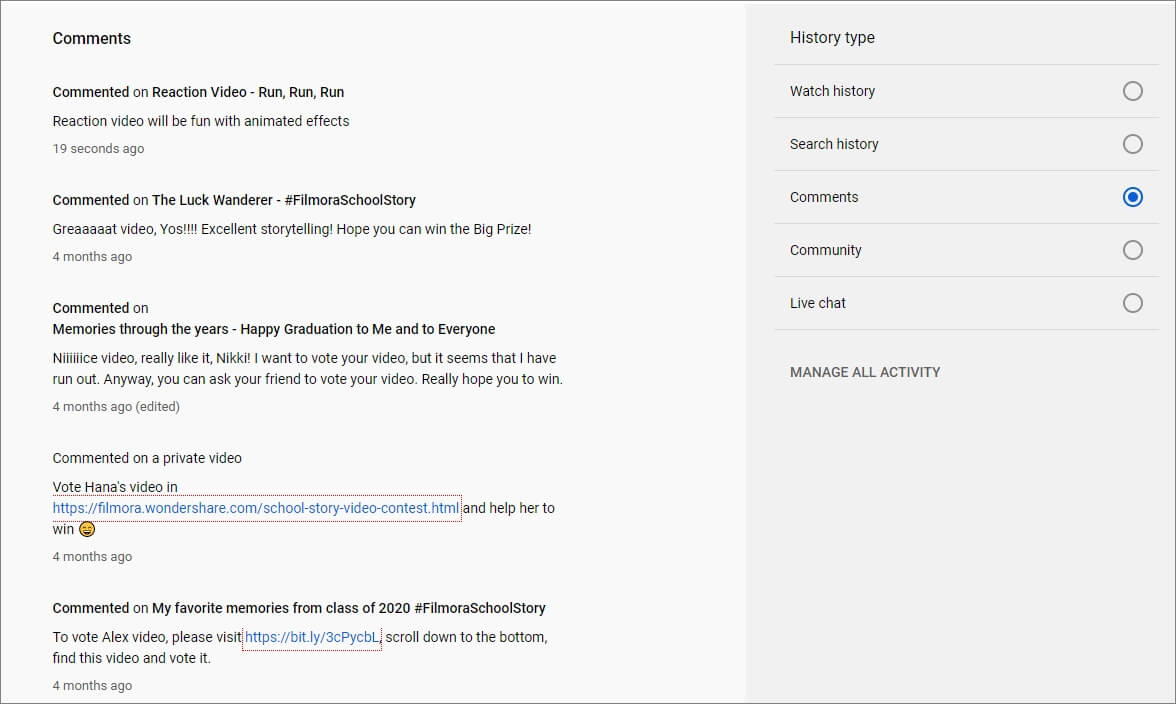
If you want to watch a deleted YouTube video using the Wayback Machine, you must find the link to the video you want to access; without the URL, you won’t be able to access the deleted YouTube video.
2. Head over to the archive.org website and paste the YouTube video URL in the search bar and press return.
3. Once you find your video on the internet archive, you can see the details of the video.
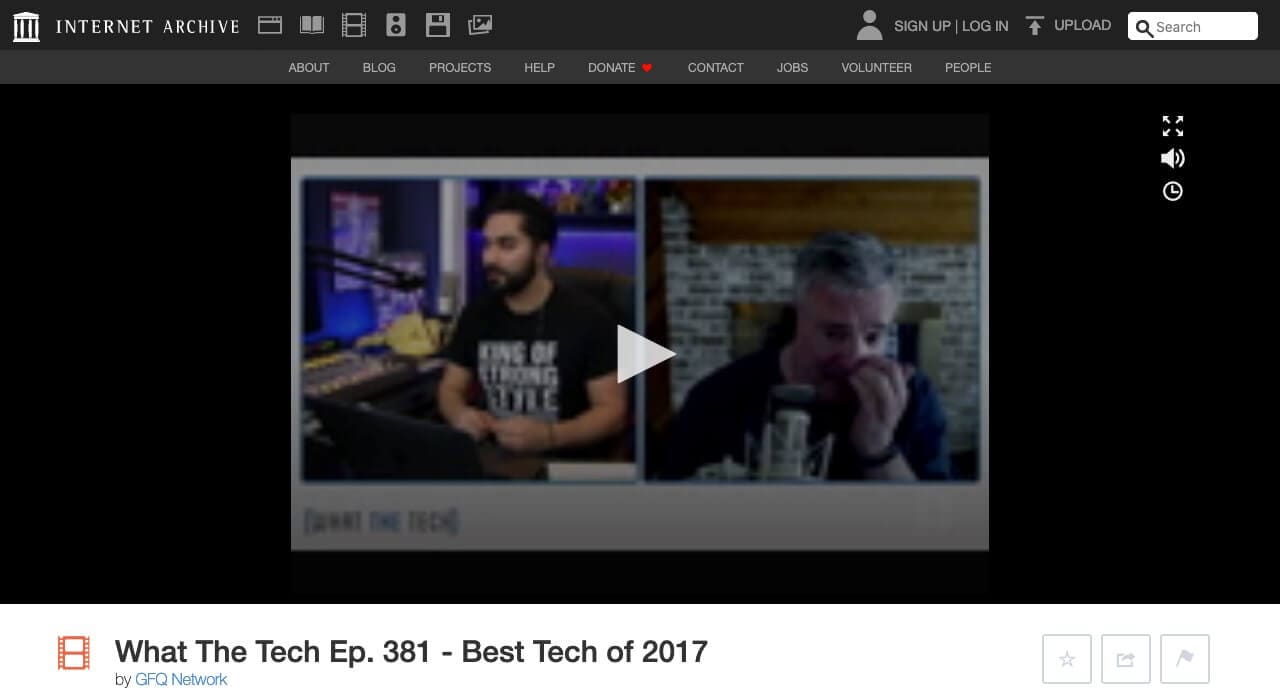
4. You won’t be able to play the video directly, but you should be able to download it. Right, click the video to find the option to download the video.

This method works mostly as the Wayback machine is pretty active and regularly crawls the web to archive the sites. But sometimes, this method may not work and would require a more sophisticated way to watch deleted YouTube videos.
Part 2: Watch Deleted YouTube Videos without a URL
But what if you don’t have a URL for the deleted YouTube video? The internet is a global village network. Everything on the internet is connected, and that connection makes it more useful for example, even though a YouTube video might be deleted, you can somehow access and watch the deleted YouTube videos without a URL because people always replicate videos and share them on other YouTube channels or social media platforms. To make sure you get to watch your favorite YouTube video again, we will dive into the vast internet and find the deleted YouTube videos.
This method can be a bit complicated and would require you to give full attention to find the video you want to watch that badly that you’ve landed on this article.
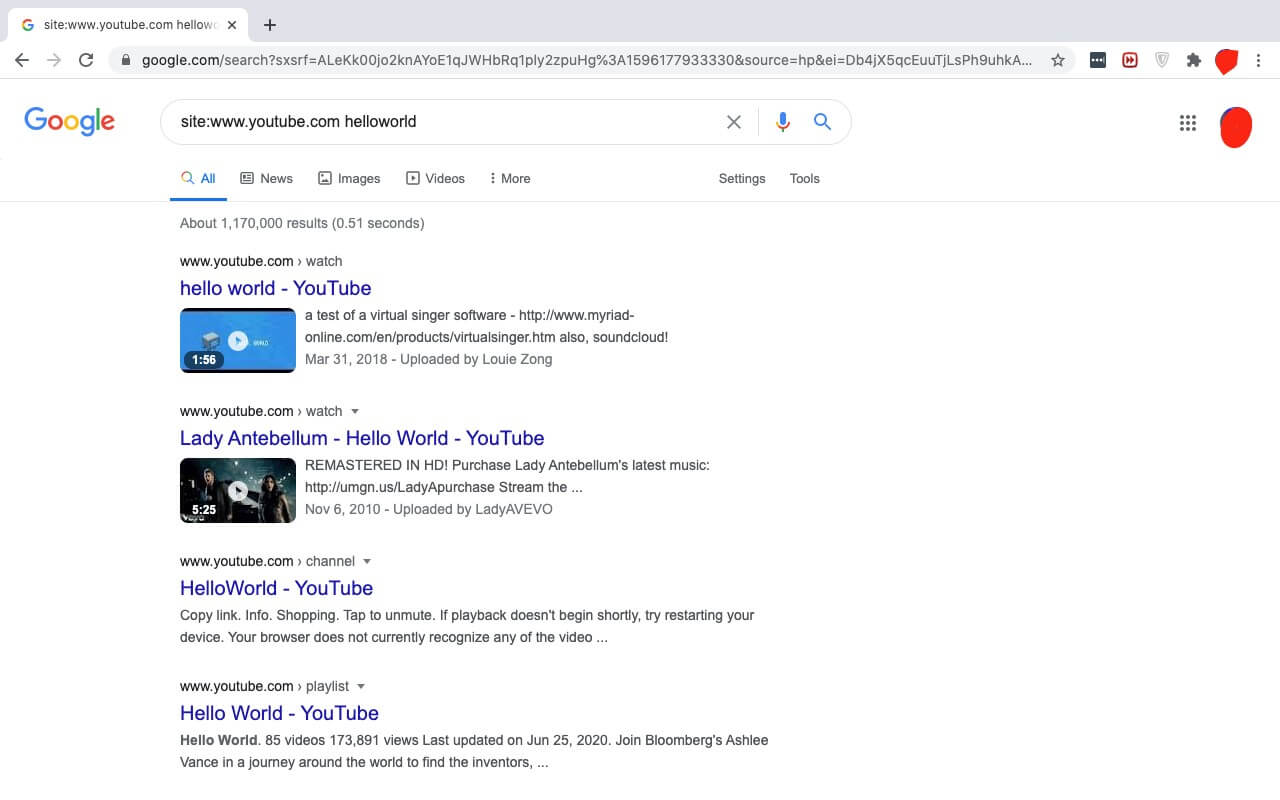
1. Open a new tab in your browser and go to the Google search bar. We’re going to employ a technique from the SEO expert’s toolbox – Google Search Operators.
2. In the search bar, type “site:www.youtube.com + name Of TheVideo”
3. This way Google will crawl all the name relevant videos only from the YouTube databases and move us closer to finding our deleted YouTube video.
4. If you know the video was shared by someone on Facebook or any other social media platform, you can change the site URL in the search bar, replacing YouTube with Facebook, for example.
5. Once you find the video URL, you can simply go back to the first method that we discussed and paste the URL into the internet archive. The archive will give you the video and you can enjoy watching a deleted YouTube video.
Note: If you still cannot find the video using this method, I’m sorry to tell you the video may be completely deleted from the server, and you cannot access it anymore.
Part 3: Bonus Tip—Make Your Own YouTube Video with Wondershare Filmora
Want to make a YouTube video again? Wondershare Filmora is a relatively lightweight and powerful platform you get an intuitive interface and the power to create wonderful, unique content. To help you make your own YouTube video with Filmora, we’ll go through a short introduction of the flow and features first:
- Organize media with folders and projects
- Cutting and trimming raw footage
- Unlimited Layering
- Visual effects and filters
- Attach/detach audio and music
- Add creative text and icons with a wide range of templates to choose from
- Advanced color correction tools
- Export videos to YouTube directly and support various output formats
Make a YouTube video with several clicks using Wondershare Filmora:
1. Download and install Wondershare Filmora on your computer by tapping the download wizard below. Remember to join the Wondershare Video Community to connect with other video creators.
2. Launch Wondershare Filmora, add your videos to the Media Library. And you’ll also be greeted with a sleek and simple interface with controls for everything such as transitions, titles, layering clips, soundtrack, and more.

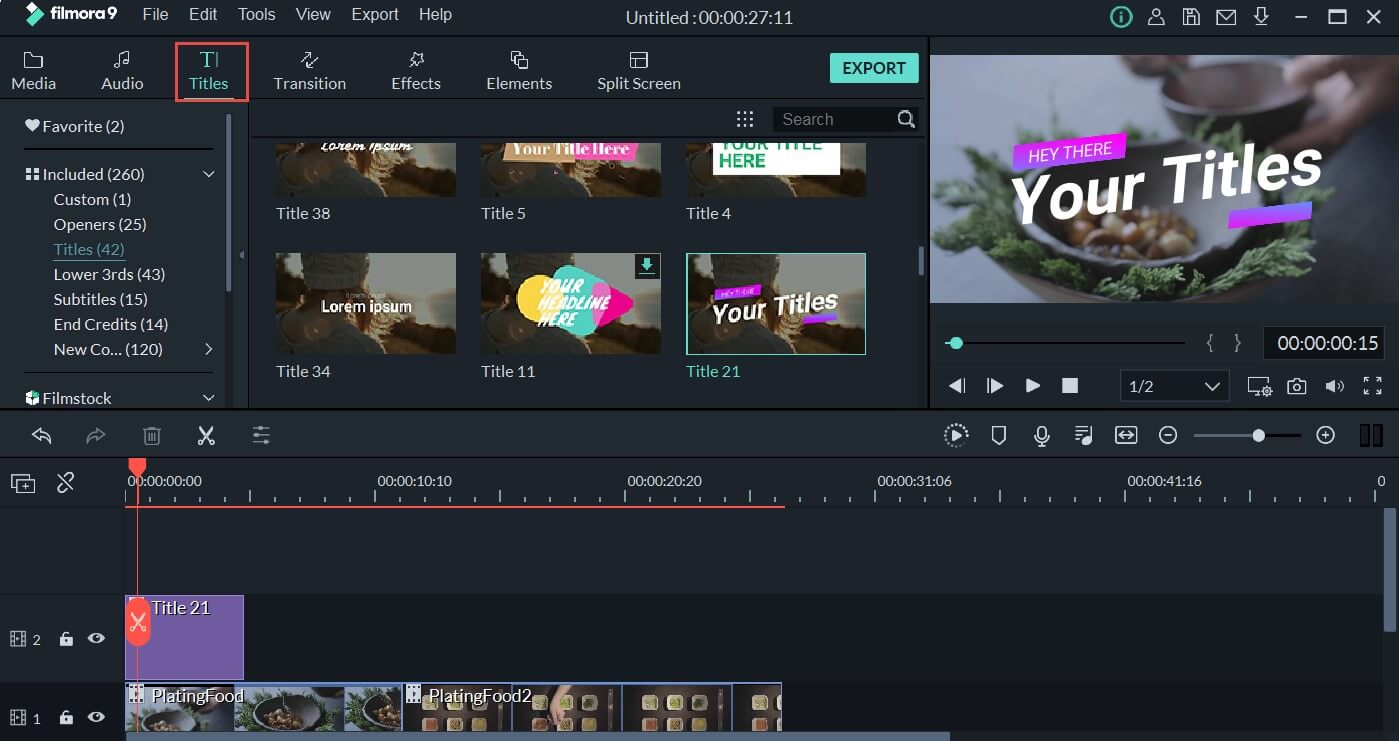
3. Add your video to the timeline, then go to the Titles tab, and you will see hundreds of titles and text templates. Select the template you love and add it to the video.
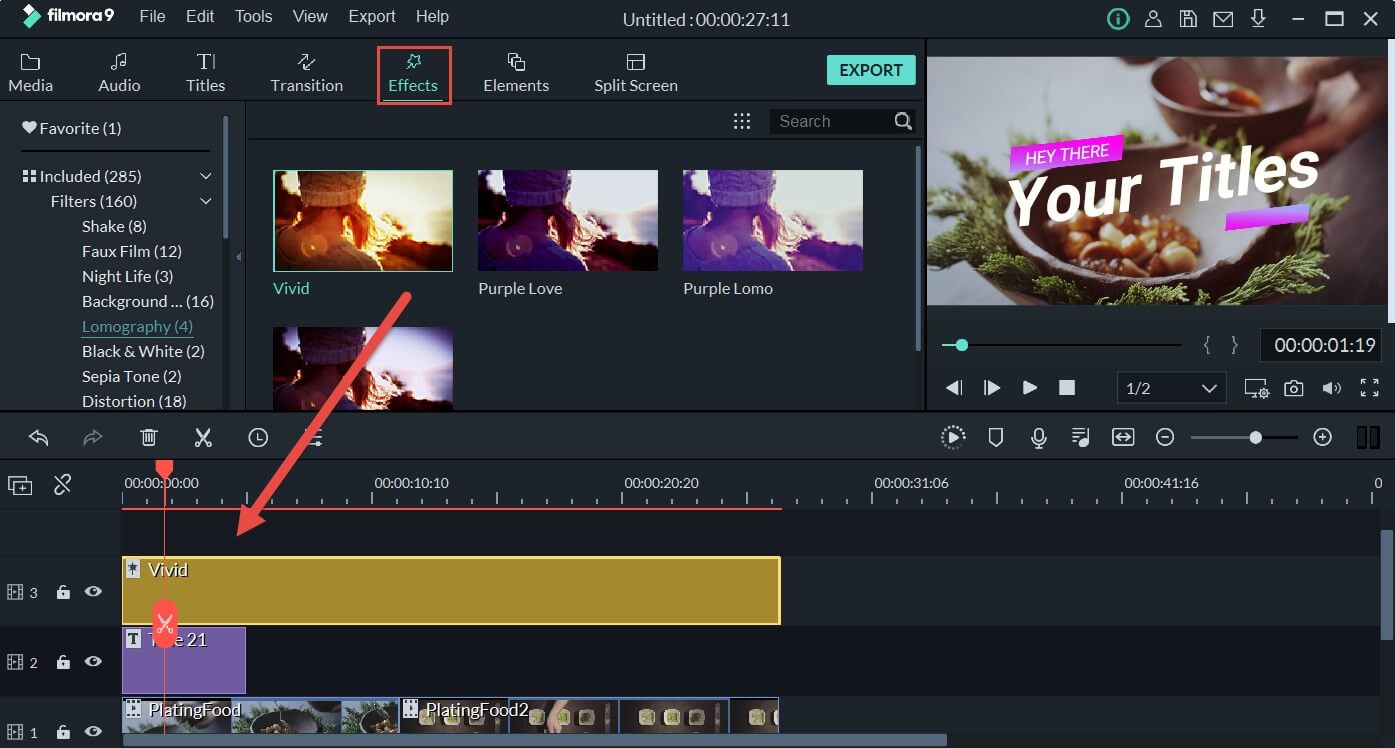
4. Then you can also go to the Effects tab and apply astonishing filters to the video
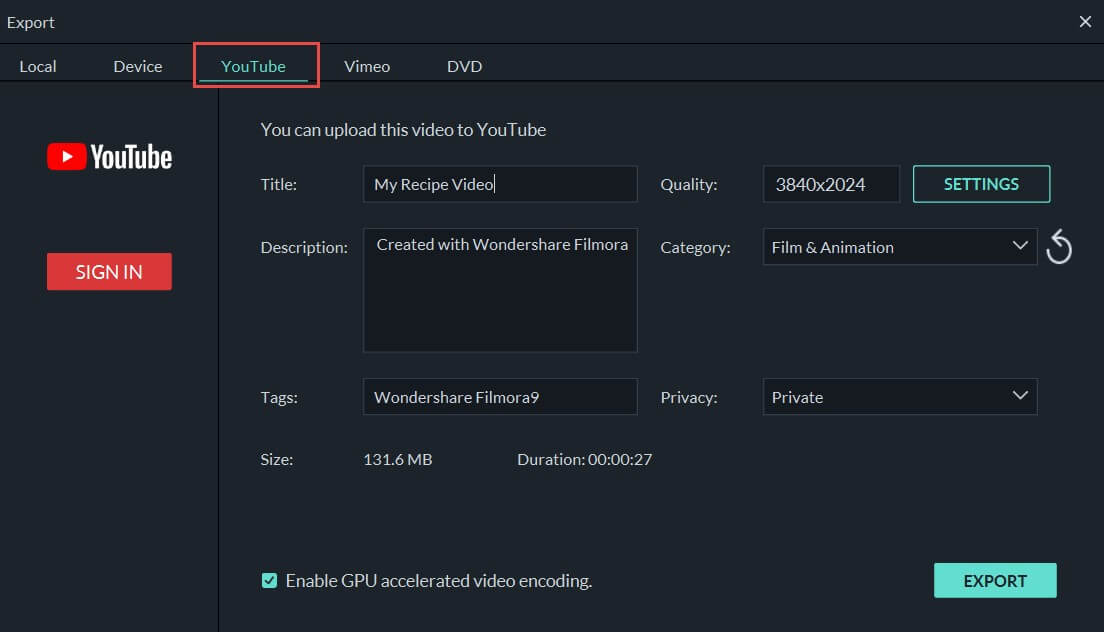
5. Once you’re done, you can click Export and upload your video to YouTube directly.
The free version will have a watermark on the exported video.
There’s nothing more delightful than to put your skills to work and save time by using Filmora. The time you save can be put into making more content and editing videos to boast of your creativity to friends.
Conclusion
YouTube has immersed so much in our day-to-day life that on average a mobile viewing session lasts more than 40 mins. To satiate our thirst for video content, YouTube has become the sole free platform. But even if your favorite song or movie gets deleted, you don’t have to worry as I’ve compiled the best solution to watch deleted YouTube videos and even be able to restore deleted YouTube videos to relish watching them with your friends and family. Leave your comments below if you love this article.
Richard Bennett
Richard Bennett is a writer and a lover of all things video.
Follow @Richard Bennett
Richard Bennett
Mar 27, 2024• Proven solutions
YouTube features a wide variety of corporate and user-generated content ranging from music to DIY videos. Along with all this massive inflow, there are scenarios where the video content that you like or wanted to watch gets deleted for any reason. Either the uploading channel deleted the video, or YouTube sometimes deletes videos for violating any of the platform’s rules – showing the dismal message “We’re sorry, this video is no longer available”. You’ll be thinking it is probably impossible to access deleted YouTube videos that you wanted to watch so badly. Though it may be true to some extent, in reality, nothing gets deleted from the internet. To help you watch deleted YouTube videos, we’ll dive into the two most handy methods down below. So, let get started.
You might be interested in How to Make a Playlist of Uploaded Videos and Others’ Video on YouTube>>>
- Part 1: Watch Deleted YouTube Videos with a URL
- Part 2: Watch Deleted YouTube Videos without a URL
- Part 3: Bonus Tip—Make Your Own YouTube Video with Wondershare FilmoraX
Part 1: Watch Deleted YouTube Videos with a URL
Internet Archive(known as the Wayback Machine) is a website archival system that has been collecting and cataloging websites since 1996. This means the system has effectively saved the site’s current layout and data. This enormous world archive of the Web’s past has amassed over 100 terabytes of storage with around 10 billion web pages.
On the archive.org website, you can find many of your favorite web site’s “snapshot” at a time in the past. For our case, we need to find and watch deleted YouTube videos, so for that, all we need is the link of the video, and we can most probably find it on archive.org. The steps for finding and restoring deleted YouTube videos are simple and as follows.
1. First of all, find the URL in your YouTube email, channel account if you’re searching for your uploaded video. You can find the link in browser history, in YouTube history, or you may have shared the link on social media.
If you want to watch a deleted YouTube video using the Wayback Machine, you must find the link to the video you want to access; without the URL, you won’t be able to access the deleted YouTube video.
2. Head over to the archive.org website and paste the YouTube video URL in the search bar and press return.
3. Once you find your video on the internet archive, you can see the details of the video.
4. You won’t be able to play the video directly, but you should be able to download it. Right, click the video to find the option to download the video.
This method works mostly as the Wayback machine is pretty active and regularly crawls the web to archive the sites. But sometimes, this method may not work and would require a more sophisticated way to watch deleted YouTube videos.
Part 2: Watch Deleted YouTube Videos without a URL
But what if you don’t have a URL for the deleted YouTube video? The internet is a global village network. Everything on the internet is connected, and that connection makes it more useful for example, even though a YouTube video might be deleted, you can somehow access and watch the deleted YouTube videos without a URL because people always replicate videos and share them on other YouTube channels or social media platforms. To make sure you get to watch your favorite YouTube video again, we will dive into the vast internet and find the deleted YouTube videos.
This method can be a bit complicated and would require you to give full attention to find the video you want to watch that badly that you’ve landed on this article.
1. Open a new tab in your browser and go to the Google search bar. We’re going to employ a technique from the SEO expert’s toolbox – Google Search Operators.
2. In the search bar, type “site:www.youtube.com + name Of TheVideo”
3. This way Google will crawl all the name relevant videos only from the YouTube databases and move us closer to finding our deleted YouTube video.
4. If you know the video was shared by someone on Facebook or any other social media platform, you can change the site URL in the search bar, replacing YouTube with Facebook, for example.
5. Once you find the video URL, you can simply go back to the first method that we discussed and paste the URL into the internet archive. The archive will give you the video and you can enjoy watching a deleted YouTube video.
Note: If you still cannot find the video using this method, I’m sorry to tell you the video may be completely deleted from the server, and you cannot access it anymore.
Part 3: Bonus Tip—Make Your Own YouTube Video with Wondershare Filmora
Want to make a YouTube video again? Wondershare Filmora is a relatively lightweight and powerful platform you get an intuitive interface and the power to create wonderful, unique content. To help you make your own YouTube video with Filmora, we’ll go through a short introduction of the flow and features first:
- Organize media with folders and projects
- Cutting and trimming raw footage
- Unlimited Layering
- Visual effects and filters
- Attach/detach audio and music
- Add creative text and icons with a wide range of templates to choose from
- Advanced color correction tools
- Export videos to YouTube directly and support various output formats
Make a YouTube video with several clicks using Wondershare Filmora:
1. Download and install Wondershare Filmora on your computer by tapping the download wizard below. Remember to join the Wondershare Video Community to connect with other video creators.
2. Launch Wondershare Filmora, add your videos to the Media Library. And you’ll also be greeted with a sleek and simple interface with controls for everything such as transitions, titles, layering clips, soundtrack, and more.
3. Add your video to the timeline, then go to the Titles tab, and you will see hundreds of titles and text templates. Select the template you love and add it to the video.
4. Then you can also go to the Effects tab and apply astonishing filters to the video
5. Once you’re done, you can click Export and upload your video to YouTube directly.
The free version will have a watermark on the exported video.
There’s nothing more delightful than to put your skills to work and save time by using Filmora. The time you save can be put into making more content and editing videos to boast of your creativity to friends.
Conclusion
YouTube has immersed so much in our day-to-day life that on average a mobile viewing session lasts more than 40 mins. To satiate our thirst for video content, YouTube has become the sole free platform. But even if your favorite song or movie gets deleted, you don’t have to worry as I’ve compiled the best solution to watch deleted YouTube videos and even be able to restore deleted YouTube videos to relish watching them with your friends and family. Leave your comments below if you love this article.
Richard Bennett
Richard Bennett is a writer and a lover of all things video.
Follow @Richard Bennett
Live Video Magic: Broadcast Youtube Secrets Using OBS
Live stream to youtube with OBS step by step guide for beginners
Richard Bennett
Mar 27, 2024• Proven solutions
- Part1. Stream Now set up
- Part2. Set up Your Live Streaming Encoder
- Part3. Youtube Events set up
- Part4. Video tutorial
1. Stream Now set up
Follow these steps to live stream your impressive videos to YouTube using Stream Now tool:
Step 1: First of all you need to login with your account and then move to Creator Studio option directly.

Step 2: Choose the Video Manager option from top most toolbar.

Step 3: From the drop down menu, simply select Live Streaming option to begin with.

Step 4: Now hot the steam now option on your screen.

Step 5: Change or Upload your thumbnail as per need.

Step 6: It is time to provide an eye catching title to your video, add description and finally choose category from the drop down menu.

Step 7: While using stream option, never forget to click on ‘make archive unlisted when complete’ option so that you can save as well as watch your content on YouTube at later stage.

Step 8: You can monetize your ads as per need.

Step 9: It also provides options to add cards.

Step 10: Now move to encoder setup and then simply copy and paste these details to your streaming software.

Step 11: Now you can set your live chat option as per your requirement.

Step 12: The analysis window will help you to know about how many viewers are connected to your video as well as the message updates will be reflected.

Step 13: Stream health can be monitored directly.

Step 14: One can also use the social media button for live shares.

2.Set up Your Live Streaming Encoder
As soon as you have completed the above set up then next task is to adjust settings of your streaming encoder. It is possible to make easy selection out of wide range of live streaming encoders. The details below are provided with reference to OBS too that is open source type free to access software.
Step 1: First of all you need to visit official website of OBS and get your software tool installed on your system.
Step 2: Now launch OBS on your device and directly go to settings option.

Step 3: It is time to copy the stream key from YouTube and then paste it directly in the specified field of OBS.

Step 4: Users can now add their sources and scenes.

Step 5: Once all these settings are done then you can simply hit the option for start streaming and it will bring your content to YouTube directly.

3. Youtube Events set up
Live stream is little different from Stream Now platform as it allows users to schedule the streams as well as a connectivity to Google Hangouts is provided. These easy to follow steps will assist you to handle all settings for your events using Live Stream tool:
Step 1: Simply click on the schedule event option on screen.

Step 2: It is much easier to make settings for basic information as well as audience type. Make some desired changes to SNS platform. If you select the Quick type then it will directly select your webcam and you need not to make additional complicated settings whereas the custom type option provides easy set up options with OBS.

Step 3: The advance settings option works same as that of stream now features and users can adjust most of these settings as per their streaming needs.

Step 4: Users can turn monetization On or Off as per their preferences.

Step 5: As soon as you finish all above settings then simply click on the create event option.

Step 6: One more window will appear on your screen and here you can make adjustment for preferred bit rate. Also put your dedicated stream key with encoder.

Step 7: When all above steps are completed then you need to hit the option for save changes so that your tool can act accordingly.

Step 8: Now click on events and here you will be able to find your event. Move to live control room if you want to access complete details about this event and you can easily delete it.

Step 9: Users can set privacy terms or simple delete the event that is currently in action.

Video tutorial
Richard Bennett
Richard Bennett is a writer and a lover of all things video.
Follow @Richard Bennett
Richard Bennett
Mar 27, 2024• Proven solutions
- Part1. Stream Now set up
- Part2. Set up Your Live Streaming Encoder
- Part3. Youtube Events set up
- Part4. Video tutorial
1. Stream Now set up
Follow these steps to live stream your impressive videos to YouTube using Stream Now tool:
Step 1: First of all you need to login with your account and then move to Creator Studio option directly.
Step 2: Choose the Video Manager option from top most toolbar.
Step 3: From the drop down menu, simply select Live Streaming option to begin with.
Step 4: Now hot the steam now option on your screen.
Step 5: Change or Upload your thumbnail as per need.
Step 6: It is time to provide an eye catching title to your video, add description and finally choose category from the drop down menu.
Step 7: While using stream option, never forget to click on ‘make archive unlisted when complete’ option so that you can save as well as watch your content on YouTube at later stage.
Step 8: You can monetize your ads as per need.
Step 9: It also provides options to add cards.
Step 10: Now move to encoder setup and then simply copy and paste these details to your streaming software.
Step 11: Now you can set your live chat option as per your requirement.
Step 12: The analysis window will help you to know about how many viewers are connected to your video as well as the message updates will be reflected.
Step 13: Stream health can be monitored directly.
Step 14: One can also use the social media button for live shares.
2.Set up Your Live Streaming Encoder
As soon as you have completed the above set up then next task is to adjust settings of your streaming encoder. It is possible to make easy selection out of wide range of live streaming encoders. The details below are provided with reference to OBS too that is open source type free to access software.
Step 1: First of all you need to visit official website of OBS and get your software tool installed on your system.
Step 2: Now launch OBS on your device and directly go to settings option.
Step 3: It is time to copy the stream key from YouTube and then paste it directly in the specified field of OBS.
Step 4: Users can now add their sources and scenes.
Step 5: Once all these settings are done then you can simply hit the option for start streaming and it will bring your content to YouTube directly.
3. Youtube Events set up
Live stream is little different from Stream Now platform as it allows users to schedule the streams as well as a connectivity to Google Hangouts is provided. These easy to follow steps will assist you to handle all settings for your events using Live Stream tool:
Step 1: Simply click on the schedule event option on screen.
Step 2: It is much easier to make settings for basic information as well as audience type. Make some desired changes to SNS platform. If you select the Quick type then it will directly select your webcam and you need not to make additional complicated settings whereas the custom type option provides easy set up options with OBS.
Step 3: The advance settings option works same as that of stream now features and users can adjust most of these settings as per their streaming needs.
Step 4: Users can turn monetization On or Off as per their preferences.
Step 5: As soon as you finish all above settings then simply click on the create event option.
Step 6: One more window will appear on your screen and here you can make adjustment for preferred bit rate. Also put your dedicated stream key with encoder.
Step 7: When all above steps are completed then you need to hit the option for save changes so that your tool can act accordingly.
Step 8: Now click on events and here you will be able to find your event. Move to live control room if you want to access complete details about this event and you can easily delete it.
Step 9: Users can set privacy terms or simple delete the event that is currently in action.
Video tutorial
Richard Bennett
Richard Bennett is a writer and a lover of all things video.
Follow @Richard Bennett
- Title: "2024 Approved Reviving Old YouTube Videos Steps for Online Reclamation"
- Author: Joseph
- Created at : 2024-05-31 13:43:15
- Updated at : 2024-06-01 13:43:15
- Link: https://youtube-stream.techidaily.com/2024-approved-reviving-old-youtube-videos-steps-for-online-reclamation/
- License: This work is licensed under CC BY-NC-SA 4.0.
