
:max_bytes(150000):strip_icc()/GettyImages-136400195-ec87f886d521489eab3228cf6843c73d.jpg)
"2024 Approved Merging Text & Vision on a Limited Budget"
Merging Text & Vision on a Limited Budget
How to Add Video to Text

Liza Brown
Mar 27, 2024• Proven solutions
It may be challenging to capture the attention of your audience if the video openings or PowerPoint presentations contain too much text. Striking a perfect balance between the visual and textual elements isn’t always easy, especially if the text is the only way to convey essential information to the audience.
Luckily, video editing and presentation software products offer the tools you will need to combine video and text. In this article, we are going to show you how to add a video to text in PowerPoint and Filmora.
Part 1: How to Add Video to Text for Free with PowerPoint?
An effective PowerPoint presentation should contain proportionate amounts of textual and visual elements. Using too many images, videos or animations can make following a presentation difficult, just as too much text can render a presentation too static.
Adding videos to titles or subtitles you include in a slideshow you’re creating in PowerPoint can help you create a presentation that is both informative and visually entertaining. The process of combining videos with text in PowerPoint isn’t overly complicated, but you will still need to go through it several times in order to become familiar with it.
You should start by creating a new slide and adding a textbox to it. Proceed to type the word or phrase into the textbox and go on to format the text. Pick the font that matches the style of your presentation and make sure that the text size is large enough for the video to be visible.
Head over to the Insert tab, select Rectangle from the Shapes menu, and create a rectangular shape over the entire slide. Right-click on the slide and choose the Send to Back option from the menu. In this manner, you will position the rectangle you created behind the textbox.

The next step you will have to take is to create the cut-out of the text within the rectangle. Select both the text and shape you placed in the background before clicking on the Format tab that is located near the end of PowerPoint’s ribbon.
Find the Insert Shape option and choose Subtract from the Merge Shapes drop-down menu. The shape of the text in the textbox will be applied to the object in the background, which enables you to add a video to that text.

Click on the Insert tab, and then choose the Video option from the Media menu. You can insert a video that is stored on a local hard drive or the Internet to PowerPoint. The video will cover the entire slide, so you must right-click on it and select the Send to Back option.
You can then fine-tune the video playback settings from the Playback tab. Preview the results before you move on to the next slide in your presentation, and make necessary adjustments if you don’t like how the video merged with the text.
Part 2: Adding Video to Text in Filmora
Besides presentation software, you can also use video editing software products to add a video to text. Filmora lets you add a video to text in just a few simple steps. You can first make a text video with animation first, and then use the picture in picture feature to add the video to text. Here are the detailed information about how to add a video to text in Filmora.


You should start by creating a new project in Filmora and importing the video you want to add to the text into the project. Click on the Titles tab, and choose the title that matches the visual style of your project.

Set the preferred duration of the title by dragging one of its ends to the left or right after you place it on the timeline, and then double-click on it to customize it. Click on the Advanced button once the Text tab opens and insert the text into the Input Text box.

Proceed to select a font and adjust the text size before deciding if you want to animate the text . When done, you should export the title as a video file, and then import it back into your project.
Now it’s time to add the text video and the background video to the project media library, and then place the two videos one above the other. Since we’re adding video to text, the text video should be placed above the background video.

Click on the video that contains text to gain access to the Video tab of the Editor panel and then expand the Compositing menu. Change the Blending Mode to Multiply, and the text in the overlaying video should be filled with the parts of the footage from the video below it.
Optionally you can enhance the colors in the background video or adjust the size of the text before exporting your project from Filmora.
Conclusion
There are so many different ways to create visually striking content, and adding videos to text is just one among numerous techniques that enable you to make a PowerPoint presentation or an opening of a video more interesting to watch.
Merging text with video is equally easy in PowerPoint and Filmora, so you just have to choose which software better suits your needs and select the materials that fit the style of your project. Learning how to add a video to text won’t take too much of your time, as this process can be completed in just a few quick steps. Which software are you using to add a video to text? Leave a comment below and let us know.
Liza Brown
Liza Brown is a writer and a lover of all things video.
Follow @Liza Brown
Liza Brown
Mar 27, 2024• Proven solutions
It may be challenging to capture the attention of your audience if the video openings or PowerPoint presentations contain too much text. Striking a perfect balance between the visual and textual elements isn’t always easy, especially if the text is the only way to convey essential information to the audience.
Luckily, video editing and presentation software products offer the tools you will need to combine video and text. In this article, we are going to show you how to add a video to text in PowerPoint and Filmora.
Part 1: How to Add Video to Text for Free with PowerPoint?
An effective PowerPoint presentation should contain proportionate amounts of textual and visual elements. Using too many images, videos or animations can make following a presentation difficult, just as too much text can render a presentation too static.
Adding videos to titles or subtitles you include in a slideshow you’re creating in PowerPoint can help you create a presentation that is both informative and visually entertaining. The process of combining videos with text in PowerPoint isn’t overly complicated, but you will still need to go through it several times in order to become familiar with it.
You should start by creating a new slide and adding a textbox to it. Proceed to type the word or phrase into the textbox and go on to format the text. Pick the font that matches the style of your presentation and make sure that the text size is large enough for the video to be visible.
Head over to the Insert tab, select Rectangle from the Shapes menu, and create a rectangular shape over the entire slide. Right-click on the slide and choose the Send to Back option from the menu. In this manner, you will position the rectangle you created behind the textbox.
The next step you will have to take is to create the cut-out of the text within the rectangle. Select both the text and shape you placed in the background before clicking on the Format tab that is located near the end of PowerPoint’s ribbon.
Find the Insert Shape option and choose Subtract from the Merge Shapes drop-down menu. The shape of the text in the textbox will be applied to the object in the background, which enables you to add a video to that text.
Click on the Insert tab, and then choose the Video option from the Media menu. You can insert a video that is stored on a local hard drive or the Internet to PowerPoint. The video will cover the entire slide, so you must right-click on it and select the Send to Back option.
You can then fine-tune the video playback settings from the Playback tab. Preview the results before you move on to the next slide in your presentation, and make necessary adjustments if you don’t like how the video merged with the text.
Part 2: Adding Video to Text in Filmora
Besides presentation software, you can also use video editing software products to add a video to text. Filmora lets you add a video to text in just a few simple steps. You can first make a text video with animation first, and then use the picture in picture feature to add the video to text. Here are the detailed information about how to add a video to text in Filmora.
You should start by creating a new project in Filmora and importing the video you want to add to the text into the project. Click on the Titles tab, and choose the title that matches the visual style of your project.
Set the preferred duration of the title by dragging one of its ends to the left or right after you place it on the timeline, and then double-click on it to customize it. Click on the Advanced button once the Text tab opens and insert the text into the Input Text box.
Proceed to select a font and adjust the text size before deciding if you want to animate the text . When done, you should export the title as a video file, and then import it back into your project.
Now it’s time to add the text video and the background video to the project media library, and then place the two videos one above the other. Since we’re adding video to text, the text video should be placed above the background video.
Click on the video that contains text to gain access to the Video tab of the Editor panel and then expand the Compositing menu. Change the Blending Mode to Multiply, and the text in the overlaying video should be filled with the parts of the footage from the video below it.
Optionally you can enhance the colors in the background video or adjust the size of the text before exporting your project from Filmora.
Conclusion
There are so many different ways to create visually striking content, and adding videos to text is just one among numerous techniques that enable you to make a PowerPoint presentation or an opening of a video more interesting to watch.
Merging text with video is equally easy in PowerPoint and Filmora, so you just have to choose which software better suits your needs and select the materials that fit the style of your project. Learning how to add a video to text won’t take too much of your time, as this process can be completed in just a few quick steps. Which software are you using to add a video to text? Leave a comment below and let us know.
Liza Brown
Liza Brown is a writer and a lover of all things video.
Follow @Liza Brown
Captivating Audiences with Unique Haul Content Ideas
Versatile Video Editor - Wondershare Filmora
An easy yet powerful editor
Numerous effects to choose from
Detailed tutorials provided by the official channel
You’re probably familiar with haul videos if you’re highly familiar with YouTube in recent years. This type of content can offer immense benefits to both influencers and small retail businesses.
Though they may not be quite as existent as they once were, it’s still essential to know the potential effect of these try-on-haul videos. They are valuable to spread the word about your brand and attract helpful content for your target audience. Here’s a quick guide to learn the ins and outs of haul videos.
In this article
02 Why is Haul Videos Popular?
03 Get Inspired from Fashion YouTubers to Find Out the Point of Try on Hauls
04 How to Make a Catchy Haul Video?
Part 1: What is a Haul Video?
Generally, a haul video is a recording of someone showcasing a collection of purchases. They may go into depth about what each product is, their shopping experience, and their initial impressions as a whole. A haul generally consists of products from a single retailer, a specific collection of shops, or at least a particular category. The products can be confined to one niche or brand, or type.
Such haul videos initially gained importance or hype around 2006/2007 through the community of beauty vloggers on YouTube as YouTube try-on-haul videos. And since the market for them isn’t that saturated, it could be an exciting time for businesses to dive in.
Haul videos generally contain products that the influencer has selected to define why they liked each item promptly. In certain sections or niches like makeup or clothing haul videos, the person may even try to offer the viewer an honest whole first impression.
Part 2: Why is Haul Videos Popular?
Having YouTube as a source of everyone’s daily dose of entertainment, we can’t help but wonder why haul videos tend to be so famous. Most YouTubers create at least one haul video regardless of their niche. They could be grocery hauls; underwear hauls, weird candy hauls, face mask hauls, candle hauls, and more. And the list goes on and on.
They are popular because they can help you connect to potential consumers via influencers as a small retail business. Generally, viewers watch and subscribe to YouTube videos of influencers or creators they trust or share similar preferences in products.
So when that influencer shares a collection of their favorite products, the viewers might decide to purchase one as well.
On the influencer side, haul videos can offer a way to share valuable content with your audience. If you have a YouTube channel, Instagram account, Facebook page, or blog, providing insights on the products you love can help your audience shape their own purchasing decisions.
It also creates a natural way to infuse some brand-related content into your content creation strategy. This can lead to profitable connections for your business in the future.
And since we’re very much intrigued by the glorifying fast fashion, excessive materialism, and hoarding, I’m getting my hands dirty with information. So, here’s what I’ve gathered:
Part 3: Get Inspired from Fashion YouTubers to Find Out the Point of Try on Hauls
Admit it; we gather most of our fashion inspiration from celebrities or YouTubers who know what’s cooking in the fashion scenes. They’ve become trendsetters, and thus we follow in their footsteps as all of us want to look great, which is why we’ve culled up a shortlist of YouTubers who you can follow for your seasonal or daily fashion or beauty inspiration! So, read on and put your glam on!
1. Tanya Burr

Tanya is a UK-based influencer who continuously posts all you need to know about fashion and makeup. Her sense of style, comfy outfits, and easy-going personality will surely attract you and give you a good idea of some unique international brands as well.
2. Heli Ved
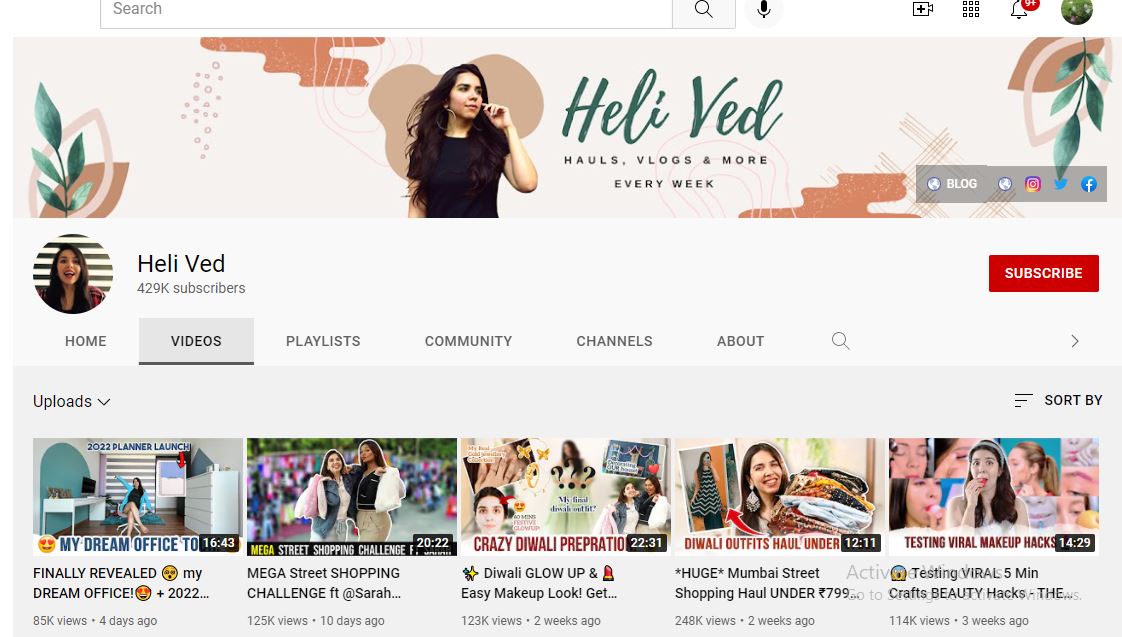
With her tons of try-on-haul videos and vlogs, she will entertain you like no other. A lively diva who preaches fashion, style, shopping, and much more.
3. Debasree Banerjee
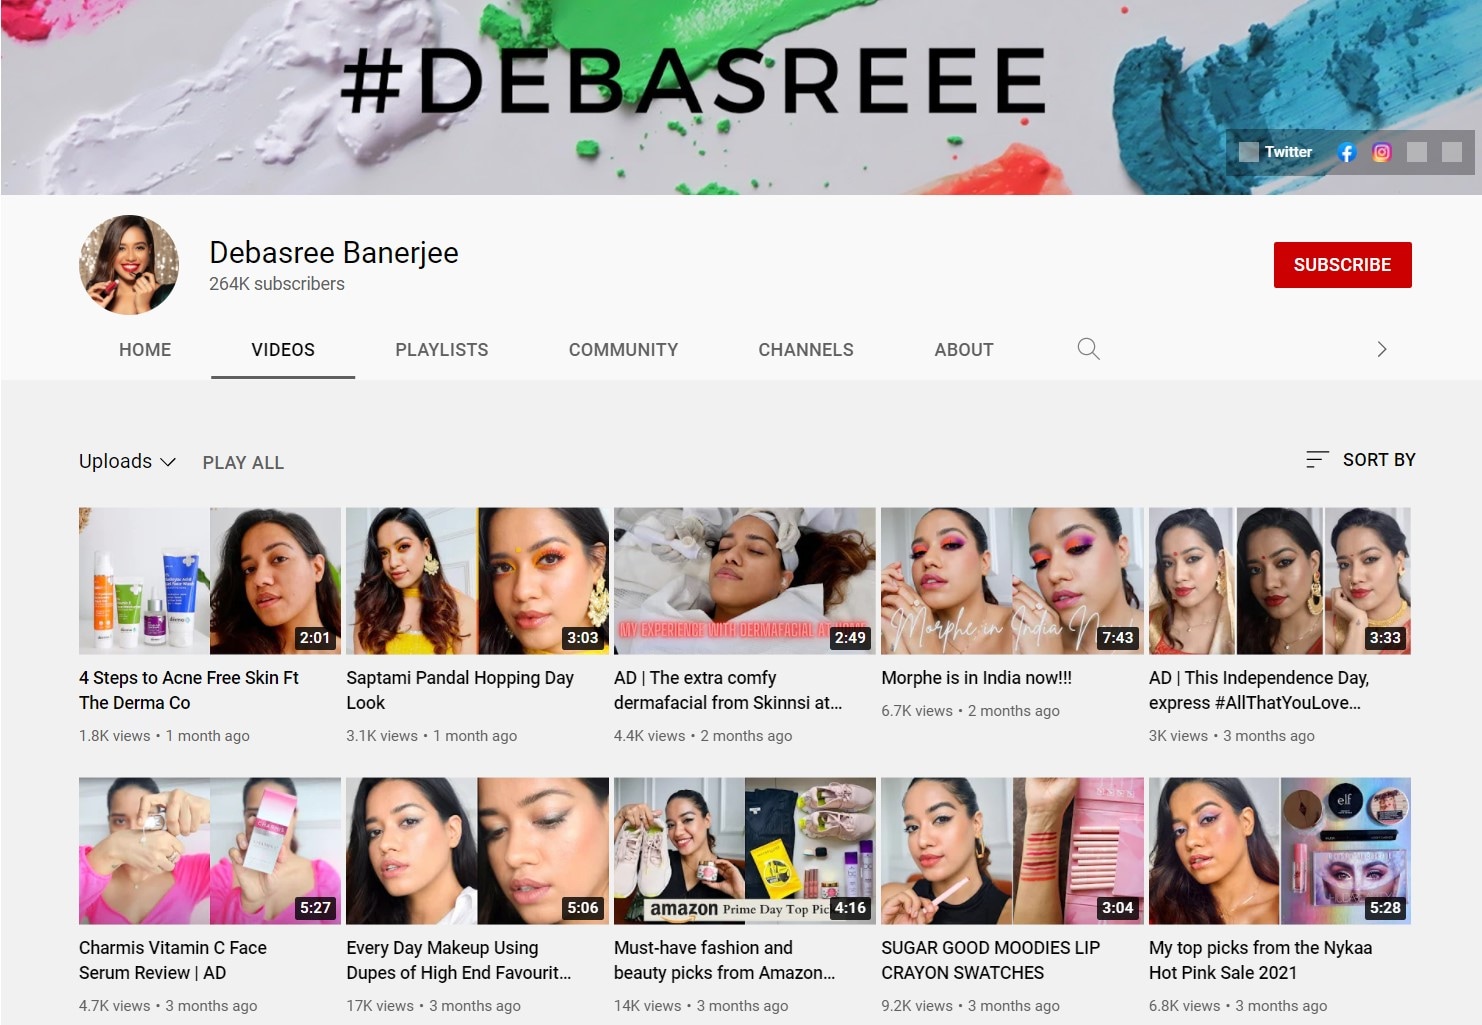
This YouTuber can be your long-distance shopping and makeup partner by showing you a diverse range of products that’ll suit you best, from high-end styles to skincare basics.
4. Kathleen Lights
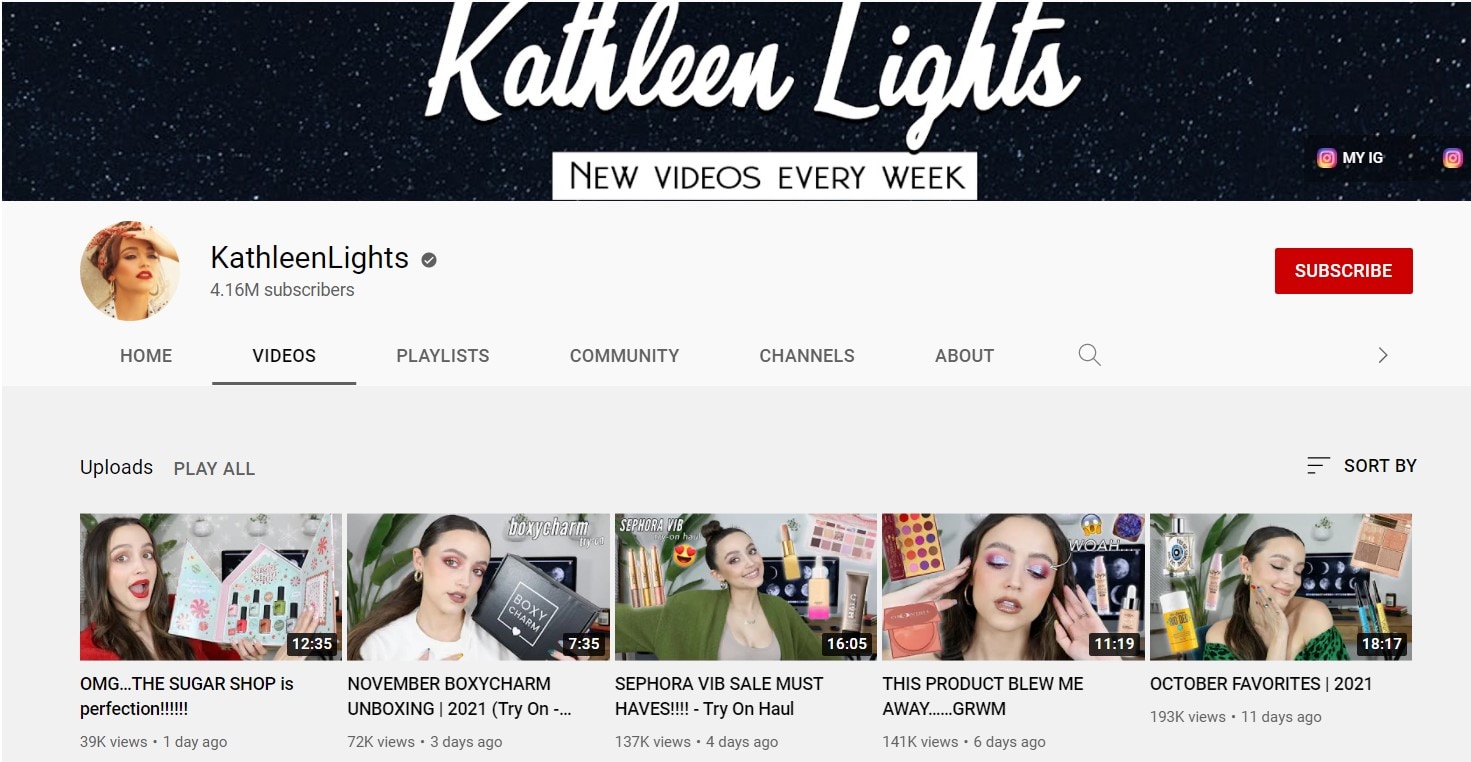
Kathleen is a 22-year-old beauty Youtuber who discusses everything from comparisons to product reviews to collection videos and entire product hauls.
5. Alexandra Garza
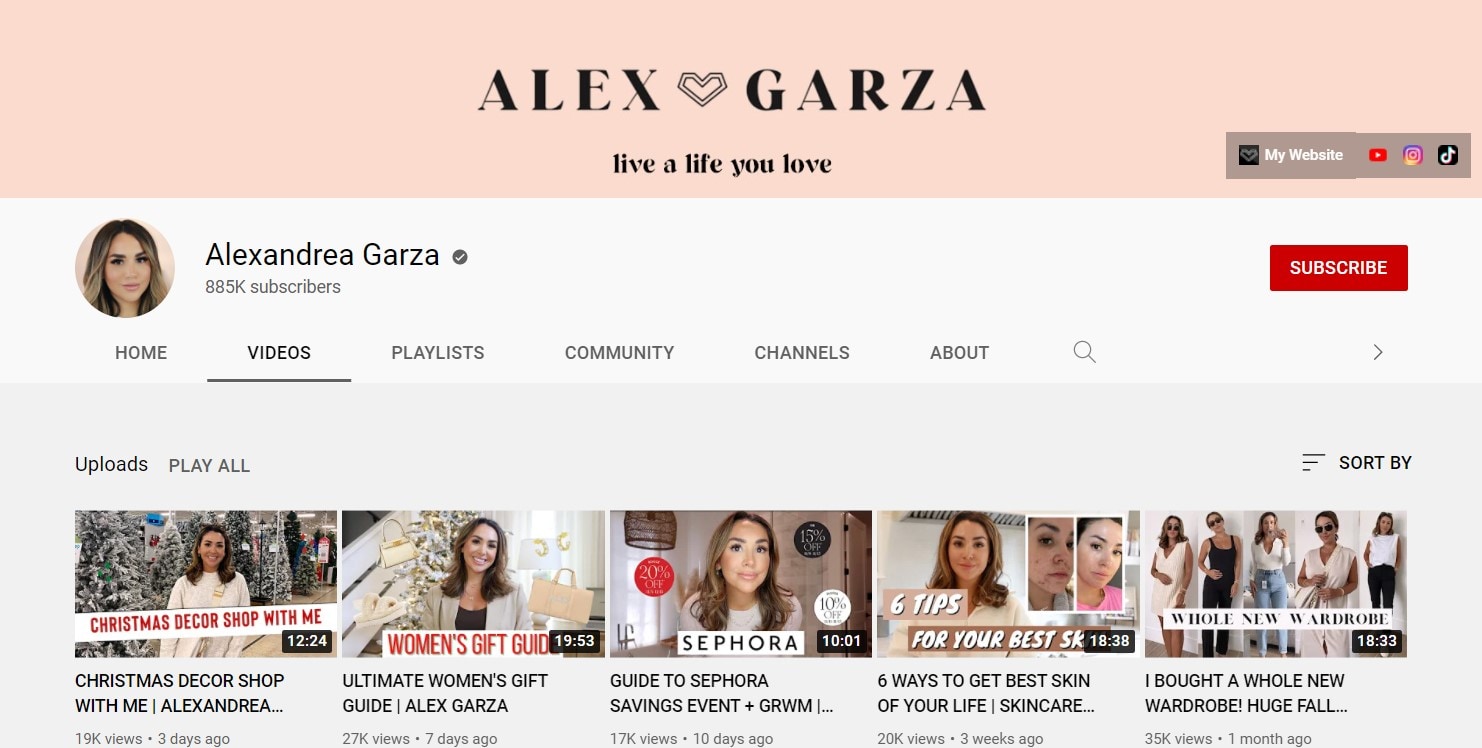
Alex Garza is a licensed cosmetologist, and she also works as a makeup artist for Benefit Cosmetics. Her channel features a cornucopia of reviews, haul videos, tutorials, and even wedding advice.
Part 4: How to Make a Catchy Haul Video?
Haul videos are easy and fun to shoot. It’s a great way of showcasing your followers and subscribers your personal style, how you shop and what your favorite stores are. Keeping in mind the mantras used by famous haul video creators, we’ve gathered a step-by-step guide below using which you can instantly create a catchy try-on haul video.
1. Create a good setup
Have ideal filming set up or area. Make sure that the lighting is accurate – not enough light will make the video dark. It is often best to film such haul videos during the day, using natural sunlight. However, you can also use desk lamps to help enhance the lighting situation.
2. Do a test video first with your shooting equipment
Put your camera on a flat surface if available. You can also use your computer’s webcam to shoot your haul video, once it is of excellent quality. You can sit on a chair or desk while facing the camera or even on the floor.
You can even take someone else to film the video for you! Try filming some test videos to check if the camera position is fine and the microphone is working. You’re ready to film once you’re satisfied.
3. Speak clearly and perform better
Speak in a clear voice, and gaze directly at the camera. You need to crack a few jokes or smile often throughout the video – you don’t want to come across as a serious or boring person to your viewers! Make sure that you’re comfortable presenting in front of a camera.
Begin by greeting the viewers (a simple “Hello, everyone!”), then you can offer a prompt description of your shopping trip. You can tell them the stores you visited or in-store events that occurred while there, like giveaways.
Act as if you’re directly conversing with one of your friends – it’s one of the comfy tricks you can follow. You can write some keywords if you think it would help and pin it somewhere where you can look through it quickly, such as the camera tripod or on the wall surface behind the camera or computer.
4. Clearly show off the products you bought
Show off the products you got! Hold the camera and show them to the audience in depth. You can also describe why you purchased each item, the price, plus any special discounts. Moreover, it is a great idea to keep all of your receipts and bills.
5. Don’t forget to use an ideal video editor
Use a video editing program to revamp your raw footage and make it look more professional. In excitement, you’d want to upload it as quickly as you can, but it’s better to invest a little time editing it so that you can publish a video with superb quality.
If there are any sections in your video that you don’t look for in the finished product, you can remove them. Plus, you can add special effects such as floating text and captions. All of this can be instantly done with the beginner-friendly and popular video editing program by Wondershare Filmora.
Within the new era of Filmora! Wondershare Filmora X is here with features like keyframing, motion tracking, audio ducking, and more. The audio ducking element is reliable for haul videos, notably as it lowers the background volume when a voiceover appears. And, this can be implemented in different ways while editing the video.
Wondershare Filmora
Get started easily with Filmora’s powerful performance, intuitive interface, and countless effects!
Try It Free Try It Free Try It Free Learn More >

6. Share among social network
If you have a social network page or a blog that you would like your YouTube viewers to consider worth checking, you can create short-form content either at the beginning or end of the video, with the short message and a URL. They’ll indeed check out your blog if your subscribers enjoy your content! And, it’s a friendly manner to build an audience and get traffic to your other pages!
Conclusion
Our final verdict is that haul videos are just entertaining to make and fun to watch with all the discussion above! Such videos can manipulate consumer trends and shape the meaning-making of individuals. They allow you to explore fun even just by living vicariously and shopping all the way long! Also, it’s equally important to consider further beautifying video through the most accessible yet professional editing programs like the Wondershare Filmora. What’s your favorite haul video to watch? Comment them down below.
You’re probably familiar with haul videos if you’re highly familiar with YouTube in recent years. This type of content can offer immense benefits to both influencers and small retail businesses.
Though they may not be quite as existent as they once were, it’s still essential to know the potential effect of these try-on-haul videos. They are valuable to spread the word about your brand and attract helpful content for your target audience. Here’s a quick guide to learn the ins and outs of haul videos.
In this article
02 Why is Haul Videos Popular?
03 Get Inspired from Fashion YouTubers to Find Out the Point of Try on Hauls
04 How to Make a Catchy Haul Video?
Part 1: What is a Haul Video?
Generally, a haul video is a recording of someone showcasing a collection of purchases. They may go into depth about what each product is, their shopping experience, and their initial impressions as a whole. A haul generally consists of products from a single retailer, a specific collection of shops, or at least a particular category. The products can be confined to one niche or brand, or type.
Such haul videos initially gained importance or hype around 2006/2007 through the community of beauty vloggers on YouTube as YouTube try-on-haul videos. And since the market for them isn’t that saturated, it could be an exciting time for businesses to dive in.
Haul videos generally contain products that the influencer has selected to define why they liked each item promptly. In certain sections or niches like makeup or clothing haul videos, the person may even try to offer the viewer an honest whole first impression.
Part 2: Why is Haul Videos Popular?
Having YouTube as a source of everyone’s daily dose of entertainment, we can’t help but wonder why haul videos tend to be so famous. Most YouTubers create at least one haul video regardless of their niche. They could be grocery hauls; underwear hauls, weird candy hauls, face mask hauls, candle hauls, and more. And the list goes on and on.
They are popular because they can help you connect to potential consumers via influencers as a small retail business. Generally, viewers watch and subscribe to YouTube videos of influencers or creators they trust or share similar preferences in products.
So when that influencer shares a collection of their favorite products, the viewers might decide to purchase one as well.
On the influencer side, haul videos can offer a way to share valuable content with your audience. If you have a YouTube channel, Instagram account, Facebook page, or blog, providing insights on the products you love can help your audience shape their own purchasing decisions.
It also creates a natural way to infuse some brand-related content into your content creation strategy. This can lead to profitable connections for your business in the future.
And since we’re very much intrigued by the glorifying fast fashion, excessive materialism, and hoarding, I’m getting my hands dirty with information. So, here’s what I’ve gathered:
Part 3: Get Inspired from Fashion YouTubers to Find Out the Point of Try on Hauls
Admit it; we gather most of our fashion inspiration from celebrities or YouTubers who know what’s cooking in the fashion scenes. They’ve become trendsetters, and thus we follow in their footsteps as all of us want to look great, which is why we’ve culled up a shortlist of YouTubers who you can follow for your seasonal or daily fashion or beauty inspiration! So, read on and put your glam on!
1. Tanya Burr
Tanya is a UK-based influencer who continuously posts all you need to know about fashion and makeup. Her sense of style, comfy outfits, and easy-going personality will surely attract you and give you a good idea of some unique international brands as well.
2. Heli Ved
With her tons of try-on-haul videos and vlogs, she will entertain you like no other. A lively diva who preaches fashion, style, shopping, and much more.
3. Debasree Banerjee
This YouTuber can be your long-distance shopping and makeup partner by showing you a diverse range of products that’ll suit you best, from high-end styles to skincare basics.
4. Kathleen Lights
Kathleen is a 22-year-old beauty Youtuber who discusses everything from comparisons to product reviews to collection videos and entire product hauls.
5. Alexandra Garza
Alex Garza is a licensed cosmetologist, and she also works as a makeup artist for Benefit Cosmetics. Her channel features a cornucopia of reviews, haul videos, tutorials, and even wedding advice.
Part 4: How to Make a Catchy Haul Video?
Haul videos are easy and fun to shoot. It’s a great way of showcasing your followers and subscribers your personal style, how you shop and what your favorite stores are. Keeping in mind the mantras used by famous haul video creators, we’ve gathered a step-by-step guide below using which you can instantly create a catchy try-on haul video.
1. Create a good setup
Have ideal filming set up or area. Make sure that the lighting is accurate – not enough light will make the video dark. It is often best to film such haul videos during the day, using natural sunlight. However, you can also use desk lamps to help enhance the lighting situation.
2. Do a test video first with your shooting equipment
Put your camera on a flat surface if available. You can also use your computer’s webcam to shoot your haul video, once it is of excellent quality. You can sit on a chair or desk while facing the camera or even on the floor.
You can even take someone else to film the video for you! Try filming some test videos to check if the camera position is fine and the microphone is working. You’re ready to film once you’re satisfied.
3. Speak clearly and perform better
Speak in a clear voice, and gaze directly at the camera. You need to crack a few jokes or smile often throughout the video – you don’t want to come across as a serious or boring person to your viewers! Make sure that you’re comfortable presenting in front of a camera.
Begin by greeting the viewers (a simple “Hello, everyone!”), then you can offer a prompt description of your shopping trip. You can tell them the stores you visited or in-store events that occurred while there, like giveaways.
Act as if you’re directly conversing with one of your friends – it’s one of the comfy tricks you can follow. You can write some keywords if you think it would help and pin it somewhere where you can look through it quickly, such as the camera tripod or on the wall surface behind the camera or computer.
4. Clearly show off the products you bought
Show off the products you got! Hold the camera and show them to the audience in depth. You can also describe why you purchased each item, the price, plus any special discounts. Moreover, it is a great idea to keep all of your receipts and bills.
5. Don’t forget to use an ideal video editor
Use a video editing program to revamp your raw footage and make it look more professional. In excitement, you’d want to upload it as quickly as you can, but it’s better to invest a little time editing it so that you can publish a video with superb quality.
If there are any sections in your video that you don’t look for in the finished product, you can remove them. Plus, you can add special effects such as floating text and captions. All of this can be instantly done with the beginner-friendly and popular video editing program by Wondershare Filmora.
Within the new era of Filmora! Wondershare Filmora X is here with features like keyframing, motion tracking, audio ducking, and more. The audio ducking element is reliable for haul videos, notably as it lowers the background volume when a voiceover appears. And, this can be implemented in different ways while editing the video.
Wondershare Filmora
Get started easily with Filmora’s powerful performance, intuitive interface, and countless effects!
Try It Free Try It Free Try It Free Learn More >
6. Share among social network
If you have a social network page or a blog that you would like your YouTube viewers to consider worth checking, you can create short-form content either at the beginning or end of the video, with the short message and a URL. They’ll indeed check out your blog if your subscribers enjoy your content! And, it’s a friendly manner to build an audience and get traffic to your other pages!
Conclusion
Our final verdict is that haul videos are just entertaining to make and fun to watch with all the discussion above! Such videos can manipulate consumer trends and shape the meaning-making of individuals. They allow you to explore fun even just by living vicariously and shopping all the way long! Also, it’s equally important to consider further beautifying video through the most accessible yet professional editing programs like the Wondershare Filmora. What’s your favorite haul video to watch? Comment them down below.
- Title: "2024 Approved Merging Text & Vision on a Limited Budget"
- Author: Joseph
- Created at : 2024-05-31 13:47:14
- Updated at : 2024-06-01 13:47:14
- Link: https://youtube-stream.techidaily.com/2024-approved-merging-text-and-vision-on-a-limited-budget/
- License: This work is licensed under CC BY-NC-SA 4.0.
